投稿日:2020年3月29日
Webフォントとは?
Webサイトは、MacやWindowsといったPC環境。OSのバージョン。PCやスマホ、タブレットなどのデバイス環境などによって表示されるフォントも異ってきます。
Webフォントを使用することで、異なる環境下でも同一のフォントで表示、閲覧することが可能になります。
Webフォントを扱っている有名なベンダーは、
FONT PLUS 、Adobe Fonts 、モリサワ TypeSquare 、Google Fonts
などがあります。
有償無償、フォントの種類など、それぞれ特徴があるので、必要に応じて選んでください。
使い方は、JavaScriptやlinkタグ、font-familyが発行されるので、コピーしてサイトのhead内やCSSに適用します。
Adobe Fonts
私は、Adobe Fontsを利用しています。
好きなフォントは源ノ角ゴシック。
タイトルにBlodを、本文を含め、その他はRegularを使用しています。
以下はWordPressへのAdobe Fontsの適用方法です。
※Adobeサイドでの設定方法はWordPressアドバイザー 村重さまのサイトをご参照ください。

まずAdobe Fontsから発行されるJavaScriptをhead内に記載します。
(function (d) {
  var config = {
      kitId: 'xxxxxx', //←個別に発行されるID
      scriptTimeout: 3000,
      async: true
    },
    h = d.documentElement,
    t = setTimeout(function () {
      h.className = h.className.replace(/\bwf-loading\b/g, "") + " wf-inactive";
    }, config.scriptTimeout),
    tk = d.createElement("script"),
    f = false,
    s = d.getElementsByTagName("script")[0],
    a;
  h.className += " wf-loading";
  tk.src = 'https://use.typekit.net/' + config.kitId + '.js';
  tk.async = true;
  tk.onload = tk.onreadystatechange = function () {
    a = this.readyState;
    if (f || a && a != "complete" && a != "loaded") return;
    f = true;
    clearTimeout(t);
    try {
      Typekit.load(config)
    } catch (e) {}
  };
  s.parentNode.insertBefore(tk, s)
})(document);
WordPressのテーマによっては親テーマのCSSにWebフォントが細かく指定されているので、子テーマなどで上書きしないといけません。
私の使用している子テーマのCSSに下記を記載し上書きしました。
/* 親テーマのフォント指定を上書き */
h1,
h2,
h3,
h4,
h5,
h6,
p,
blockquote,
address,
big,
cite,
code,
em,
font,
img,
small,
strike,
sub,
sup,
li,
ol,
ul,
fieldset,
form,
label,
legend,
button,
table,
caption,
tr,
th,
td,
body,
.main-menu,
.post-header .post-title,
.post-quote blockquote,
.post-link p,
.post-quote cite,
.posts .format-status .post-excerpt p,
.format-status .post-content,
.post-author h4,
.post-content h1,
.post-content h2,
.post-content h3,
.post-content h4,
.post-content h5,
.post-content h6,
.post-content cite,
code,
kbd,
pre,
.post-content fieldset legend,
input,
textarea,
.comments-title-container,
.comment-header cite,
.comment-content h1,
.comment-content h2,
.comment-content h3,
.comment-content h4,
.comment-content h5,
.comment-content h6,
.pingbacks-title,
.comment-reply-title,
.comment-form input[type="text"],
.comment-form input[type="email"],
.comment-form textarea,
.form-submit #submit,
.author-info h4,
.author-info h5,
.page-title h3,
.page-title h1 .bottom,
.widget-title,
.wrapper .searchform .search-field,
.footer .searchform .search-field,
#wp-calendar caption,
.credits p strike,
sub,
sup,
li,
ol,
ul,
fieldset,
form,
label,
legend,
button,
table,
caption,
tr,
th,
td,
body,
.main-menu,
.post-header .post-title,
.post-quote blockquote,
.post-link p,
.post-quote cite,
.posts .format-status .post-excerpt p,
.format-status .post-content,
.post-author h4,
.post-content h1,
.post-content h2,
.post-content h3,
.post-content h4,
.post-content h5,
.post-content h6,
.post-content cite,
code,
kbd,
pre,
.post-content fieldset legend,
input,
textarea,
.comments-title-container,
.comment-header cite,
.comment-content h1,
.comment-content h2,
.comment-content h3,
.comment-content h4,
.comment-content h5,
.comment-content h6,
.pingbacks-title,
.comment-reply-title,
.comment-form input[type="text"],
.comment-form input[type="email"],
.comment-form textarea,
.form-submit #submit,
.author-info h4,
.author-info h5,
.page-title h3,
.page-title h1 .bottom,
.widget-title,
.wrapper .searchform .search-field,
.footer .searchform .search-field,
#wp-calendar caption,
.credits p {
    font-family: source-han-sans-japanese, sans-serif;
    font-weight: 400; /*Regular指定 */
    font-style: normal;
    font-display: swap;
}

/* ブログタイトル */
.blog-title {
    font-family: source-han-sans-japanese, sans-serif;
    font-weight: 700; /*Bold指定 */
    font-style: normal;
    font-display: swap;
}▲親テーマからfont-familyで検索し、上書きしましたが、けっこうな量です。
これでサイト内の全てのフォントに源ノ角ゴシックが適用されました。
必要に応じて見出しなどのフォントをカスタマイズしてもいいですね。
※全称セレクター(*)で指定すると一括で変更できますが、優先度が強すぎて他をカスタマイズできなくなります。
fontawesome
上記以外のWebフォントでFont Awesome というサービスがあります。
私のブログではリンクマークの「」や、チェックマークの「」をよく使ってます。
装飾的なマーク類ですが、文章内に追加することでより良い効果を与えられます。
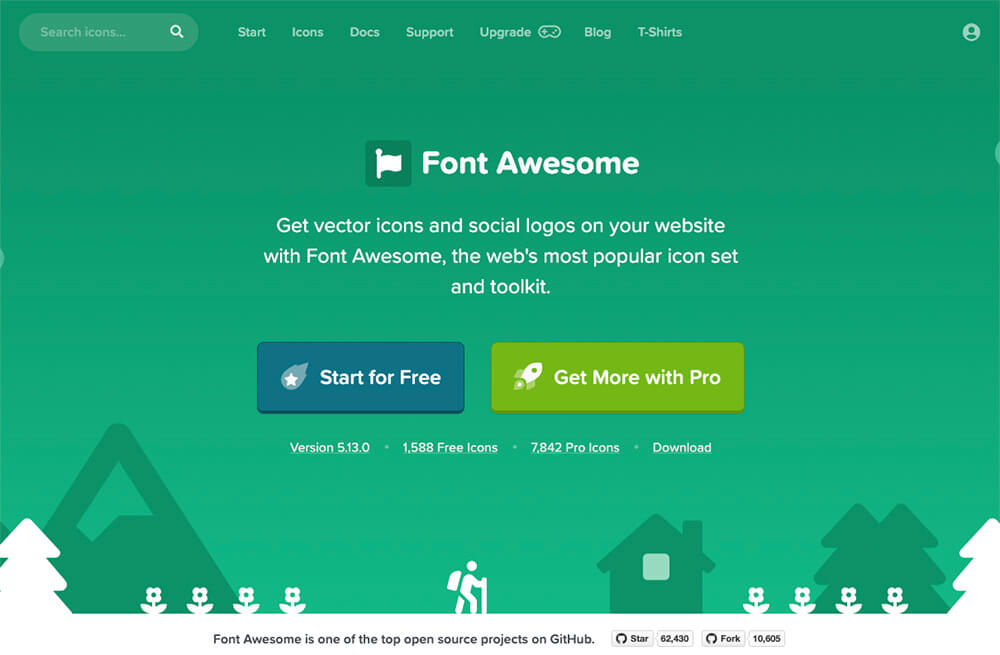
▲Font Awesome
Pro版は種類豊富ですが、Free版でも充分だと思います。
Start for Free からメールアドレスを入力、送信しアカウントを作成します。
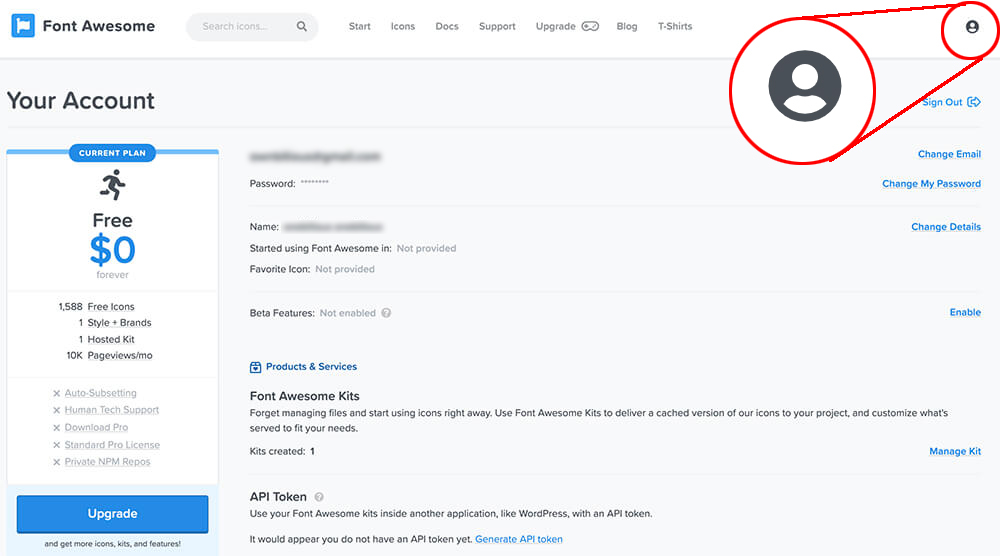
▲ログインし右上の赤囲みのアイコンをクリックすると下図が展開します。
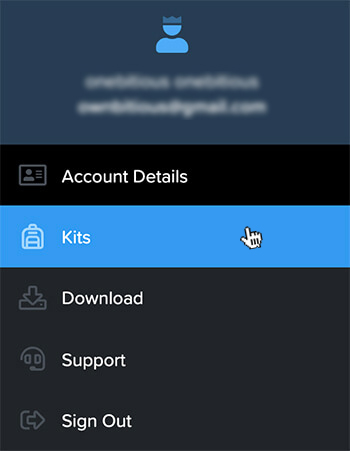
▲Kitsをクリックします。
Kits下のDownloadからダウンロードするとディレクトリに配置でき、そこからリンクすることもできます。
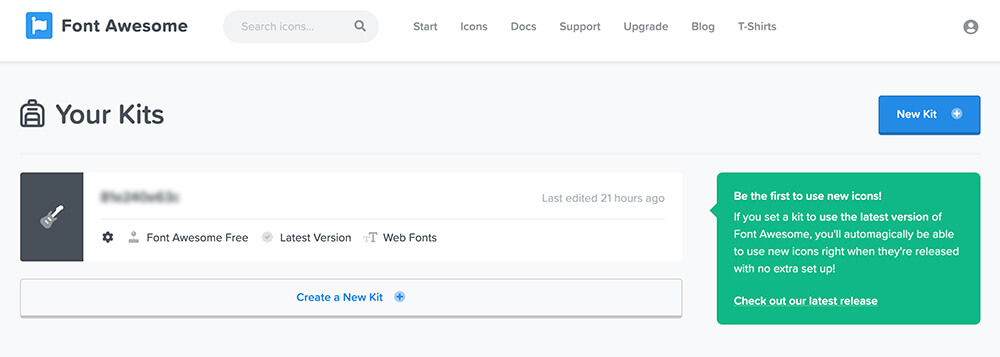
▲Kitsが表示されます。
IDが書かれている辺りをクリックすると下図が表示されるのでJavaScriptをコピーします。
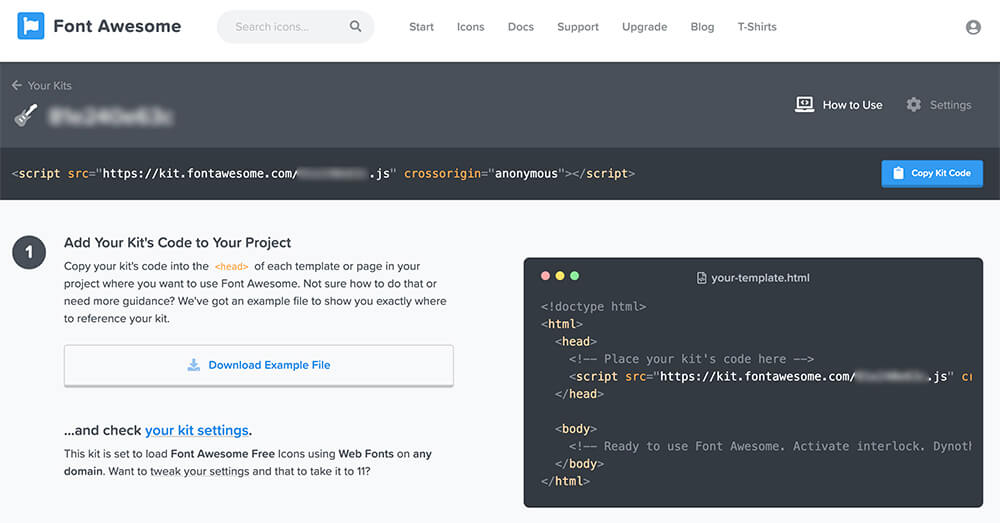
<head>
    <meta charset="UTF-8">
    <meta name="viewport" content="width=device-width, initial-scale=1.0">
    <title>サンプル</title>
    <script src="https://kit.fontawesome.com/xxxxxxxx.js" crossorigin="anonymous"></script>
</head>
▲サイトに習ってhead内に記述しました。

▲使いたいアイコンを探し、上部の<i class="fas fa-plus-circle"></i>のように記載されているタグをコピー。配置したい箇所にペーストするとサイトに表示されます。
Unicode指定やダウンロードもできるので便利ですね。
Google Fonts
冒頭でも紹介したGoogle Fonts 。
こちらは無料で使用できます。
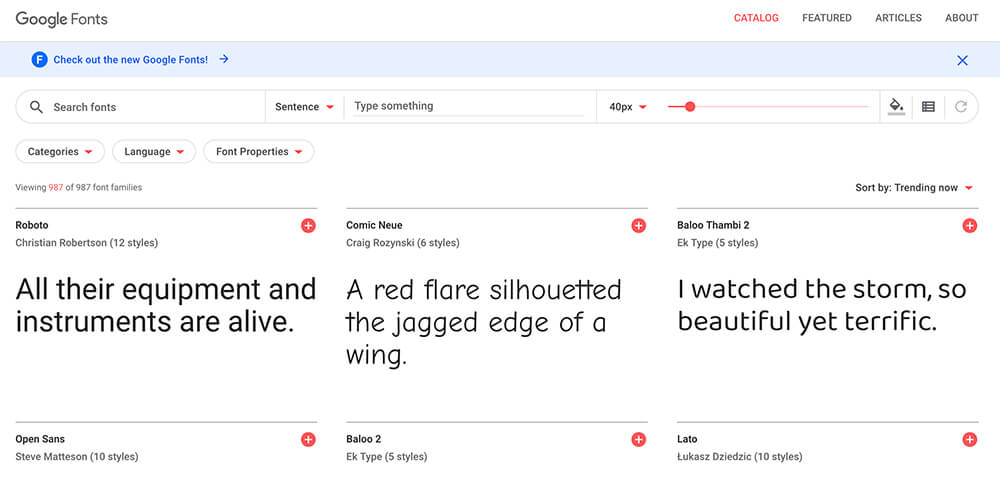
▲Google Fontsサイト
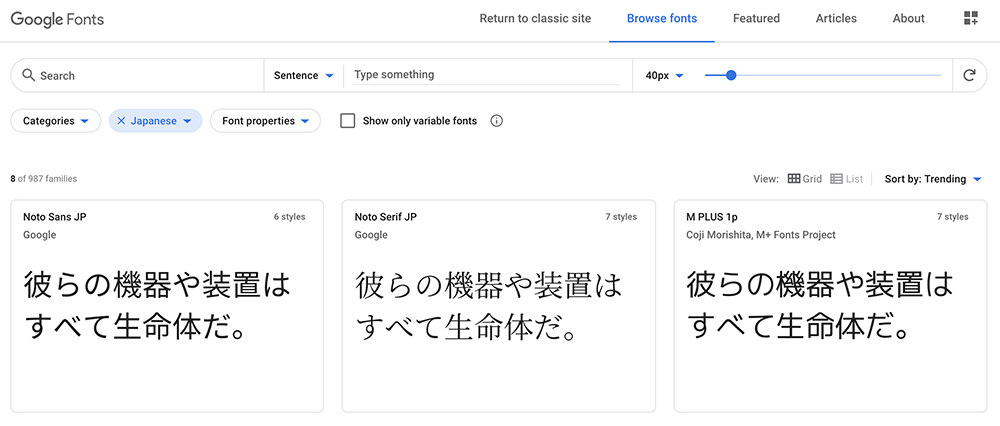
▲LanguageからJapaneseを選択すると、日本語の文章として使用できるフォントの一覧が表示されます。
M PLUS 1pを使用しましょう。
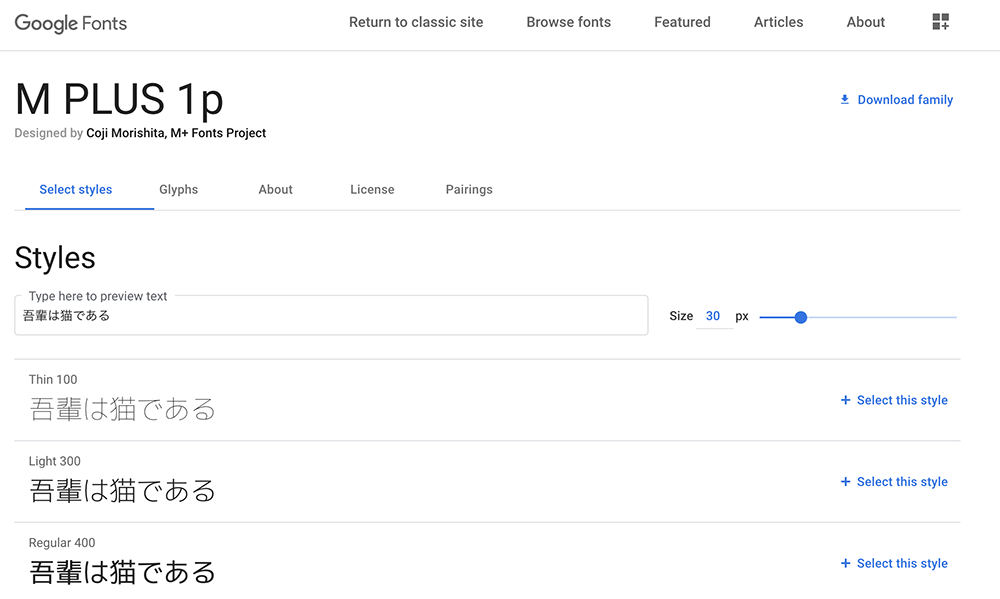
▲クリックするとM PLUS 1pの詳細画面が表示されます。
サンプルテキストを入力したりウェイトを選択したりできます。
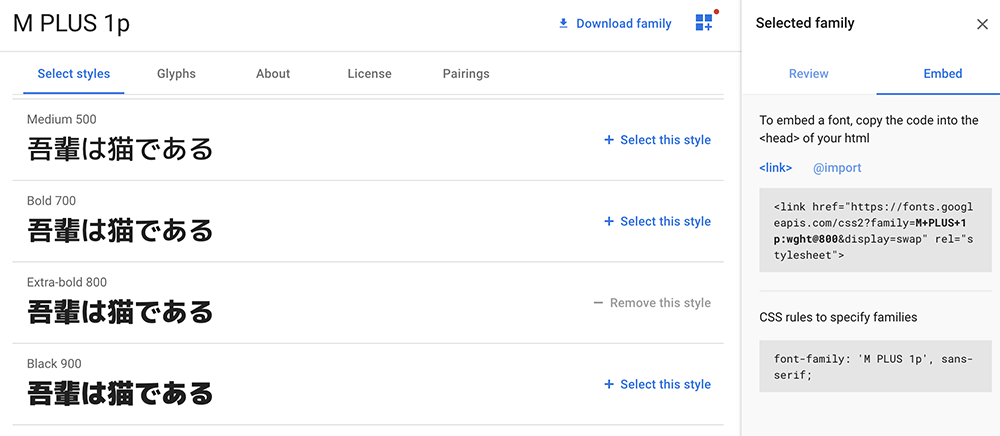
▲サンプルテキストの右横の+ Select this style をクリックするとstyleの詳細が表示されます。

▲Embedタブをクリックすると、linkタグとCSSが表示されるのでコピーして任意ペーストします。
<head>
    <meta charset="UTF-8">
    <meta name="viewport" content="width=device-width, initial-scale=1.0">
    <link href="https://fonts.googleapis.com/css2?family=M+PLUS+1p:wght@800&display=swap" rel="stylesheet">
    <title>サンプル</title>
    <style>
        .hoge {
            font-family: 'M PLUS 1p', sans-serif;
        }
    </style>
</head>
▲head内に記述してみました。
吾輩は猫である
吾輩は猫である
▲適用されました。上がM PLUS 1p(Extra-bold 800)。下が源ノ角ゴシック。
フォント選びも、Webサイト作成の楽しみの一つです。
遊び心が垣間見えたり、作り手の気持ちが伝わる大切な要素だと思います。
あまりやり過ぎると、おかしなサイトになってしまうので、適度な使用をお薦めします。
この記事を書き始めたときは、Webフォント使用サイトを、Google Chrome Lighthouseでの「ウェブフォント読み込み中のテキストの表示」問題を取り上げようとしました。
Google FontsのCDNにはdisplay=swapのパラメータが記載されています。
fontawesomeも以前のバージョンでは、対策としてダウンロードしたCSSにfont-display: swap;を追記し対応したものです。
昨年あたりの記事を参考にすると、この辺りの対策が必要なので要注意かな。。。
本内容は2020年5月2日に開催された『三鷹・吉祥寺 WordPress Meetup「オンラインゆるもく会 + LT」 』にてLTで登壇させていただきました。
最後まで読んでくださりありがとうございました。