投稿日:2025年2月12日
前回はRaspberry Pi Zero 2 Wを使ってカメラ接続し、撮影の検証 を行いました。
カメラも接続できたことだし、外出先からアクセスして留守中の室内を映す、いわるゆ、防犯カメラを検証してみたいと思います。
必要なこととして、以下のことを行いました。
❶ 動画撮影のためPythonプログラムの準備
❷ 遠隔操作のためRealVNCアカウントの作成
❸ RealVNCを使ったラズパイサーバーの構築
❹ RealVNCを使ったクライアントマシーンの構築
❶ 動画撮影のためPythonプログラムの準備
ラズパイのOSはBullseyeで進めます。
ラズパイのプログラムは基本Pythonで記述します。
Pythonのカメラ機能を使うための準備をします。
sudo python -m pip install --upgrade pipPythonの管理システムのpipというものをインストールしアップグレードします。
sudo pip3 install numpy▲Numpyという、Pythonで数値計算を効率的に行うライブラリをインストールします。
sudo apt update▲OSのパッケージリストを更新。
sudo apt install python3-opencv▲Pythonで画像処理や画像解析、機械学習などを行うライブラリOpenCVをインストールします。
sudo apt install libatlas3-base▲ubuntu標準のPythonライブラリ(線形代数のソフトウェア)をインストールします。※良く分かりません。
以下、防犯カメラに使用する動画アプリのソースコードです。
import cv2
from picamera2 import Picamera2
from libcamera import controls

myPicam = Picamera2()
myPicam.configure(myPicam.create_preview_configuration(main={"format": 'XRGB8888', "size": (1000, 768)}))
myPicam.start()

while True:
  im = myPicam.capture_array()
  cv2.imshow("Camera", im)

  key = cv2.waitKey(1)
  # escキーを入力されたら画面を閉じる
  if key == 27:
    break

myPicam.stop()
cv2.destroyAllWindows()
❷ 遠隔操作のためRealVNCアカウントの作成
外出先などからの遠隔操作にはアカウントを作る必要があります。
VNC Liteは非商用利用の場合に限り、無料でアカウントが作れます。
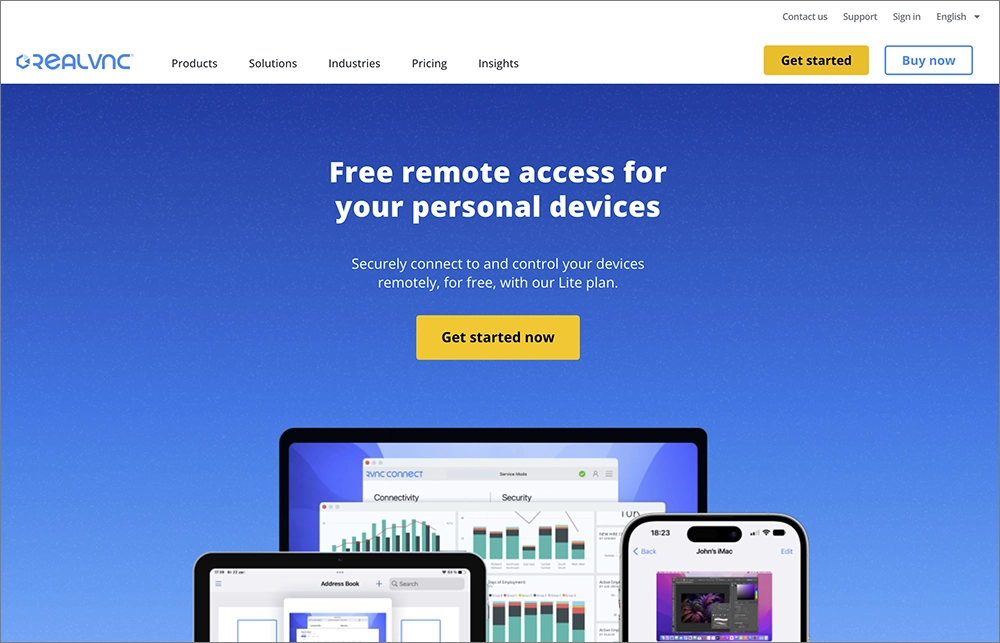
▲Real VNC VNC Lite のページ。
Get started nowをクリックしアカウント作成を行います。
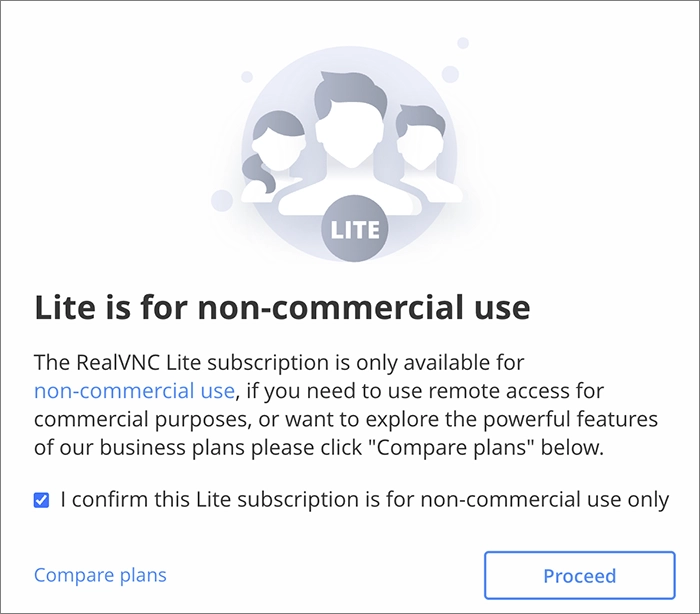
▲Liteは非商用利用のみ利用できます。
仕事で使う場合は有料プランが必要になります。
I confirm this Lite subscription is for non-commercial use only(非商用目的のみに使用されることを確認) にチェックを入れProceedをクリックします。
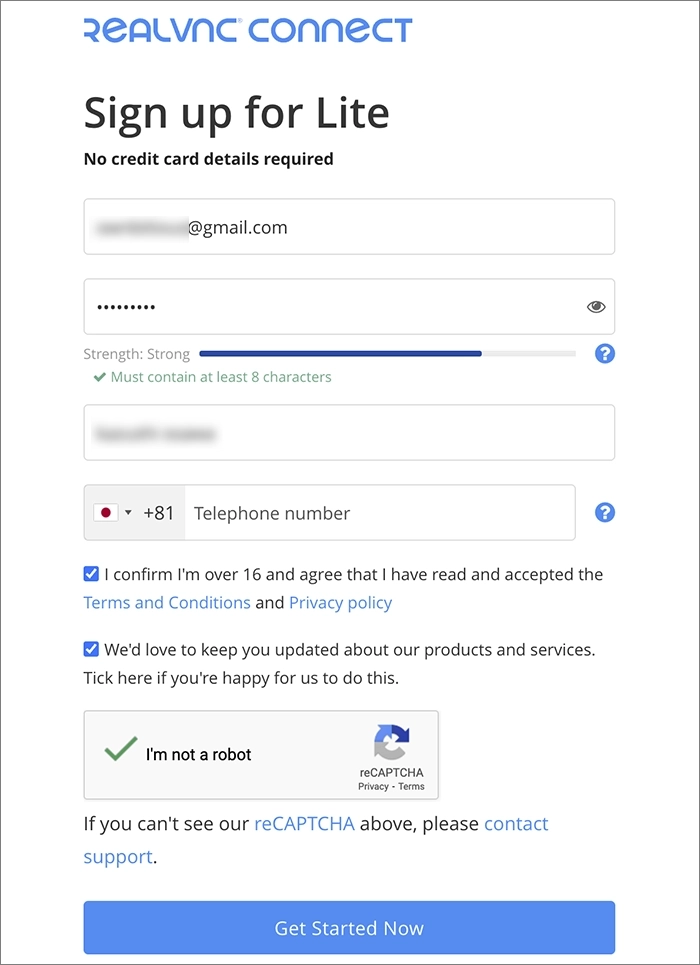
▲アカウント情報を入力します。
メールアドレス、パスワード、フルネームを入力し、
I confirm I’m over 16 and agree that I have read and accepted the Terms and Conditions and Privacy policy(私は16歳以上であることを確認し、利用規約とプライバシーポリシーを読み、同意します。)
にチェック。
We’d love to keep you updated about our products and services. Tick here if you’re happy for us to do this.(当社の製品やサービスに関する最新情報をお届けします。よろしければこちらにチェックを入れてください。)
に任意チェック、reCAPTCHAにチェックを入れGet Started Nowをクリックします。
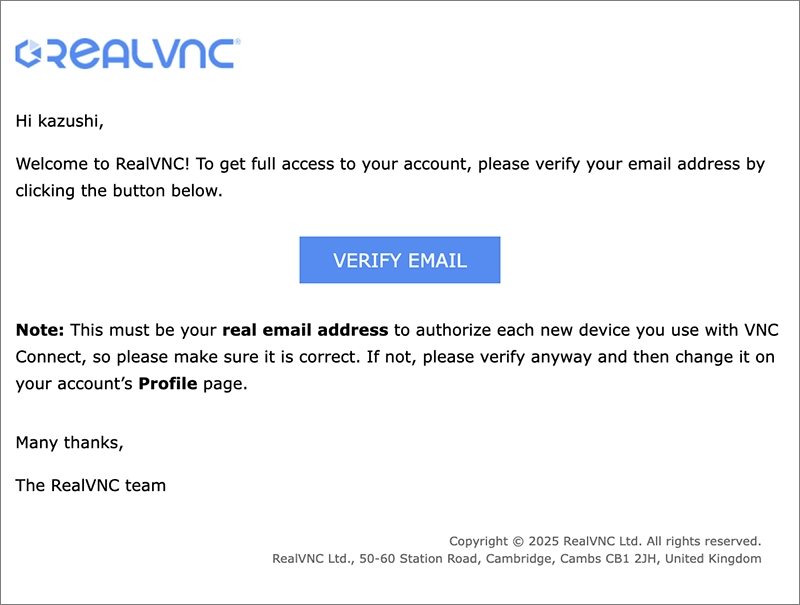
▲メールが届くのでVERIFY EMAILをクリックします。
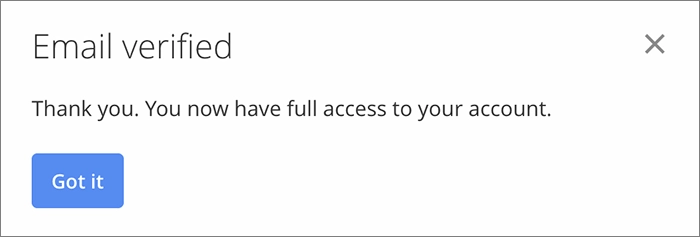
▲認証確認が表示されるのでGot itをクリックしログインします。
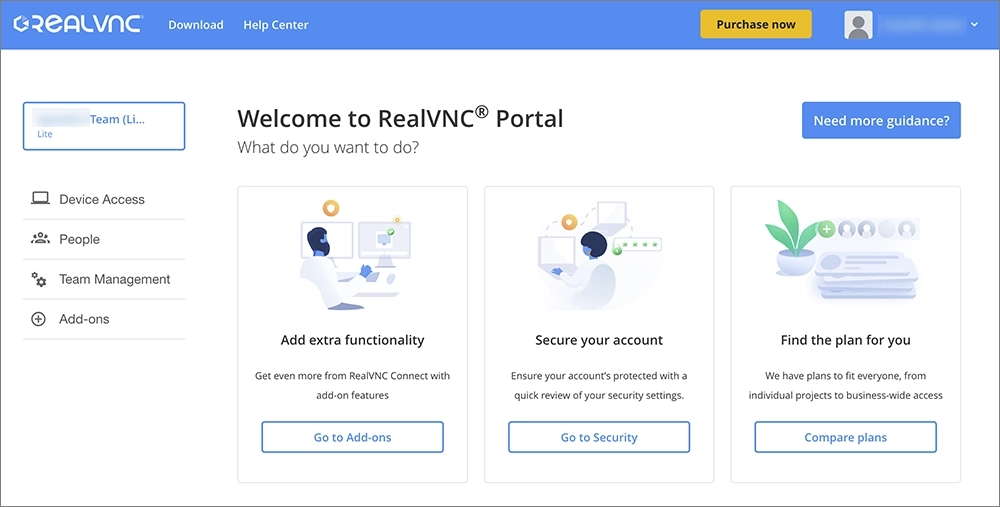
▲ログインしました。
左上の青い矩形はチーム名です。
アカウント作成と同時に作成されます。
チームは外部からラズパイにアクセスするときに必要になります。
ここまでがアカウント作成です。
❸ RealVNCを使ったラズパイサーバーの構築
続いてサーバー側になるラズパイの設定を行います。
IPアドレスを固定化する必要があります。
固定IPアドレスにしていないと、上記で作ったアカウントに、サーバー側のラズパイから接続ができません。
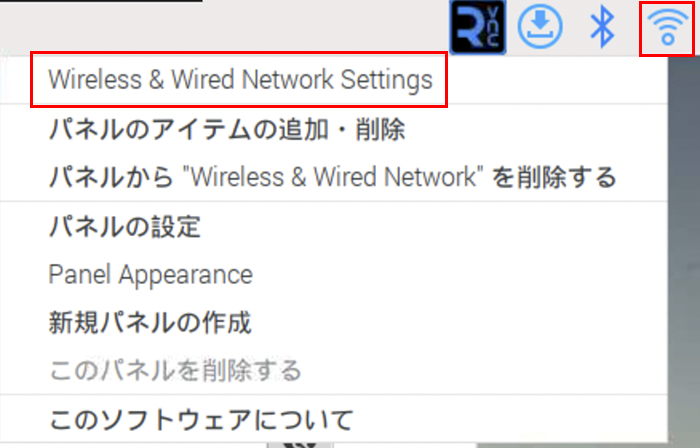
▲ラズパイ画面右上のWi-Fiのアイコンを右クリックしWireless & Wired Network Settingを選択します。
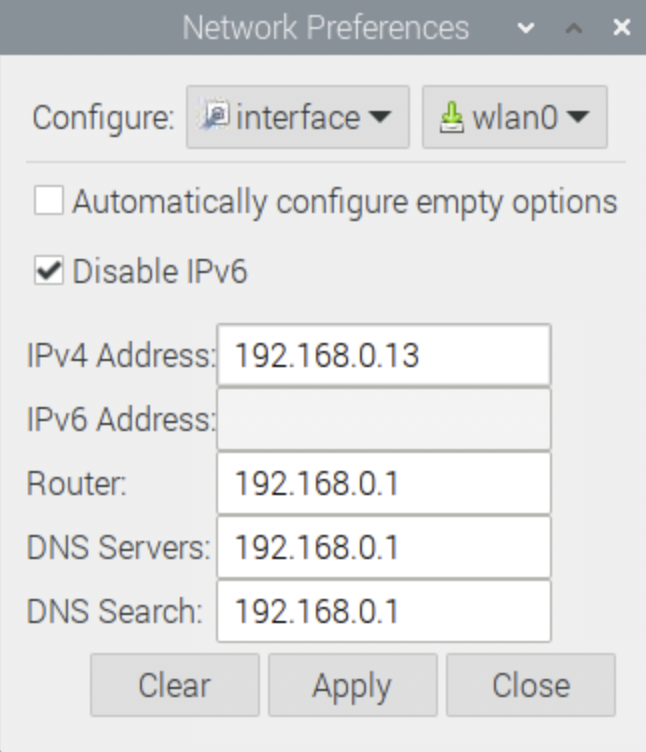
▲右上からwlan0(Wi-Fi)を選択し、IPアドレスを任意で入力します。
IPv6にしない場合Disable IPv6にチェックを入れます。
Router、DNS Server、DNS Searchは同じ数値で構いません。
192.168.0までは同じ数値にした方が良いそうです。
最後にApplyをクリックします。
次にサーバー版のインストーラーをダウンロードしましょう。
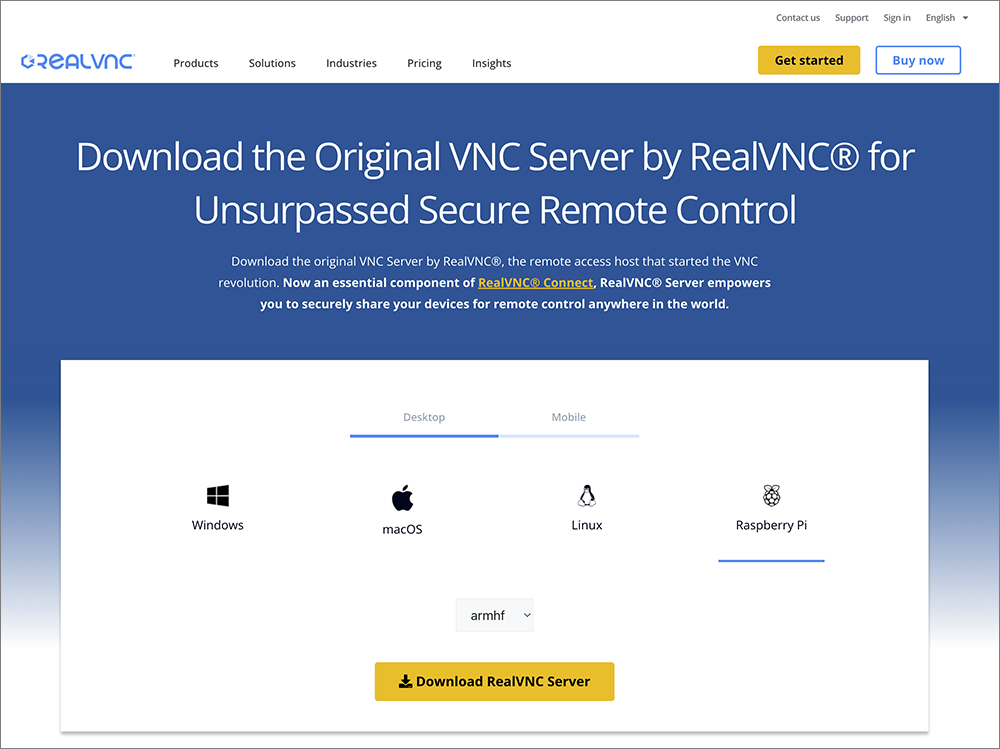
▲RealVNC Serverのページ からラズパイ版をダウンロードします。
別途、Viewer版ダウンロードページ もあるので間違えないようにしましょう。
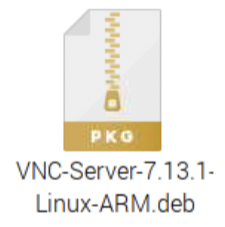
▲ダウンロードしたラズパイ版のサーバー版インストーラー。
Zero 2 Wではウェブブラウジングは遅すぎて使い物になりません。
Macでダウンロードしました。
ラズパイでSSH設定を行い、FTPソフト経由でラズパイに持っていきましょう。
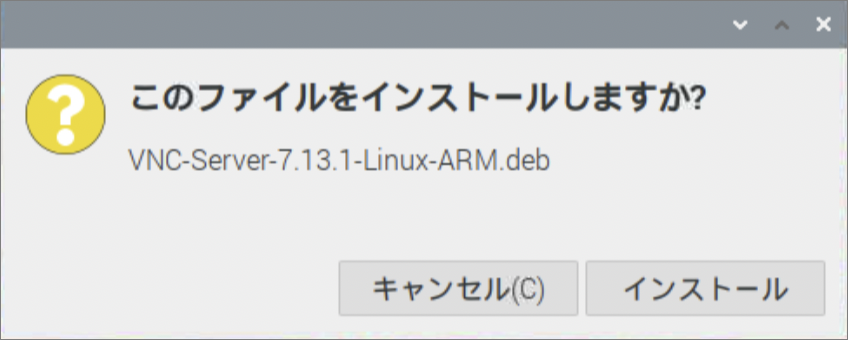
▲ラズパイでインストーラーをダブルクリックします。
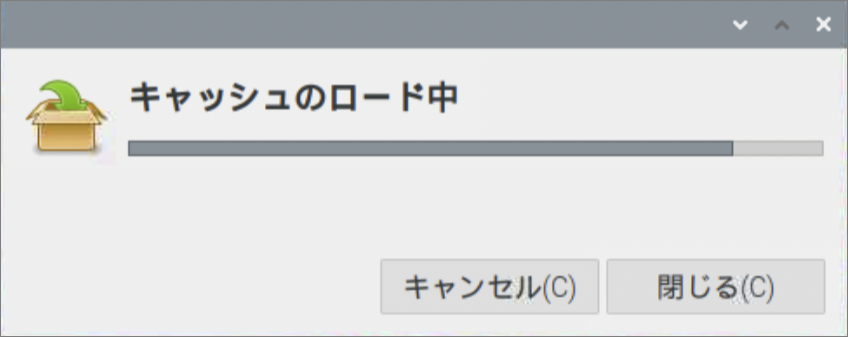
▲インストールが進行します。
▲ラズパイのパスワードを入力します。
しばらくするとインストールが完了します。
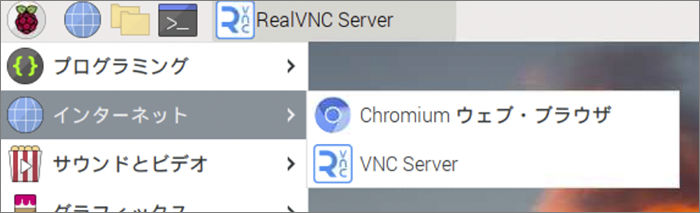
▲インストール後、インターネットのメニューにVNC Serverが追加されます。
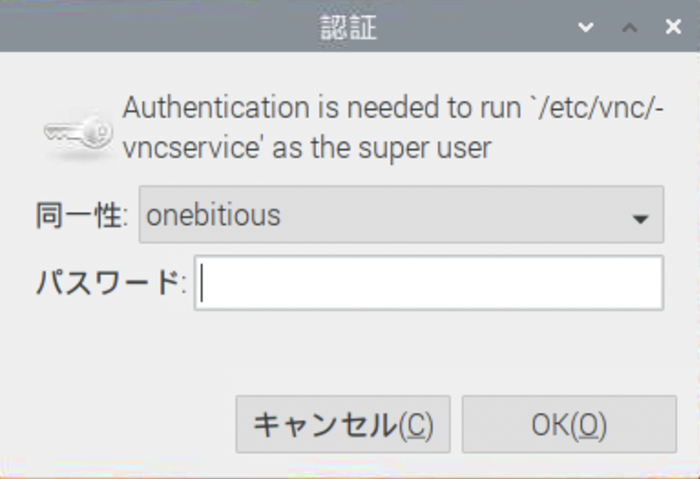
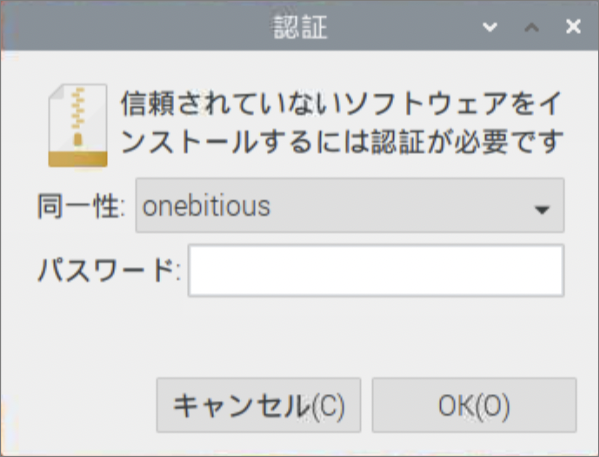
▲VNC Serverを選択すると認証画面が表示されます。
パスワードを入力しOKをクリックします。
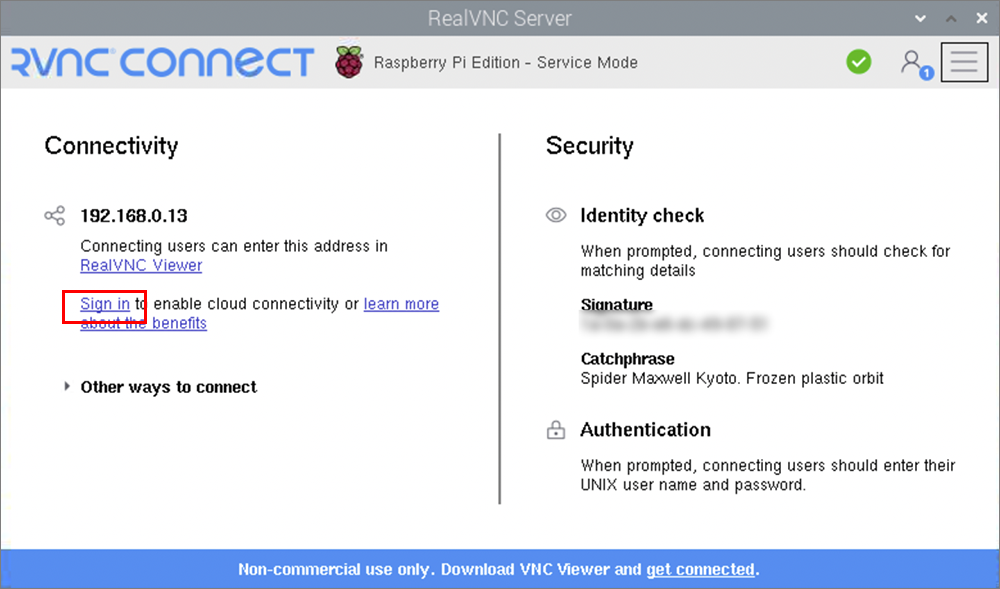
▲先ほど作成したアカウントと紐づけるためにSign inをクリックします。
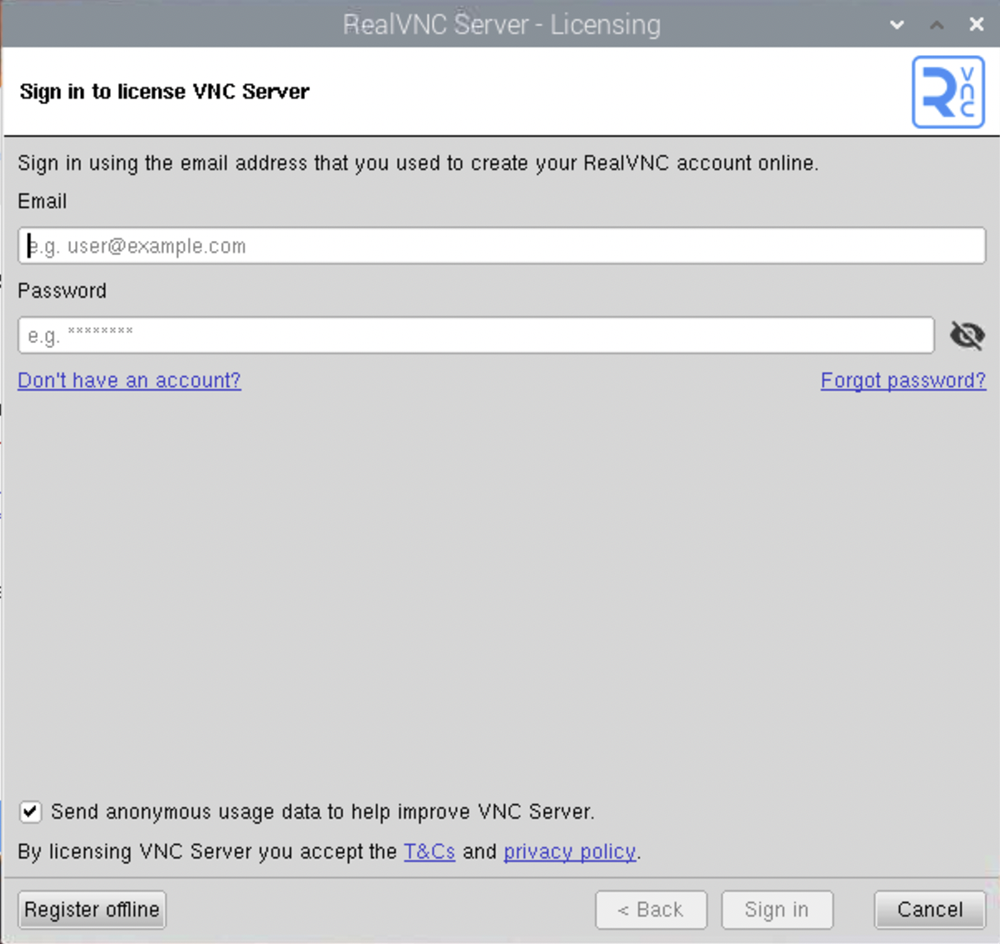
▲ライセンス画面が開くので先ほど登録したメールアドレスとパスワードを入力します。
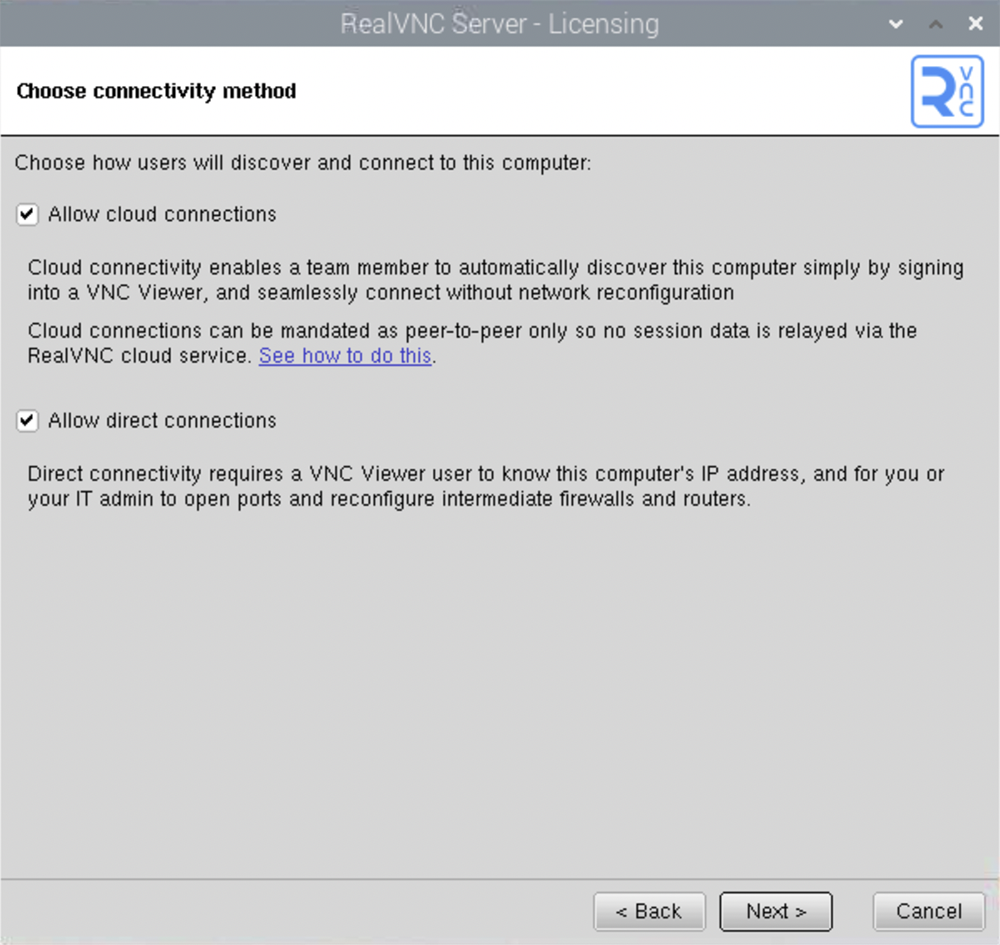
▲All cloud connections(すべてのクラウド接続)とAllow direct connections(接接続を許可する)にチェックを入れたままNextをクリックします。
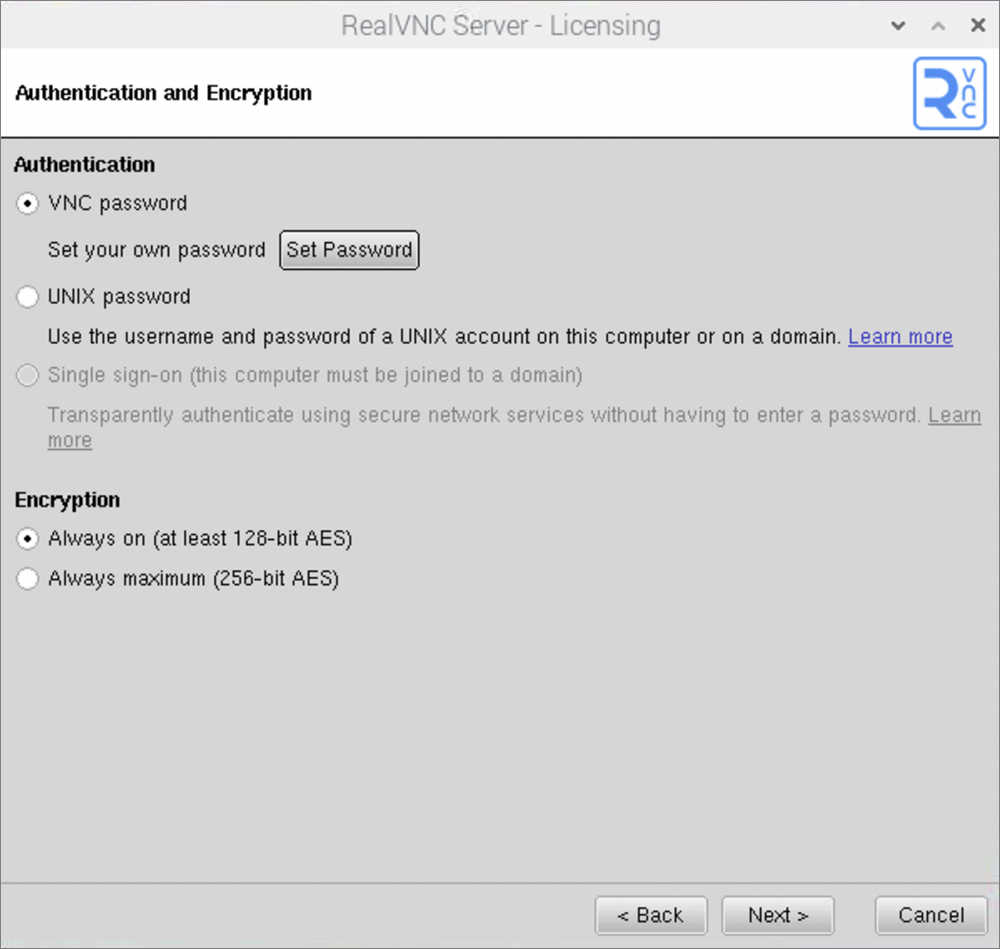
▲VNC passwordにチェックを入れSet passwordをクリックします。
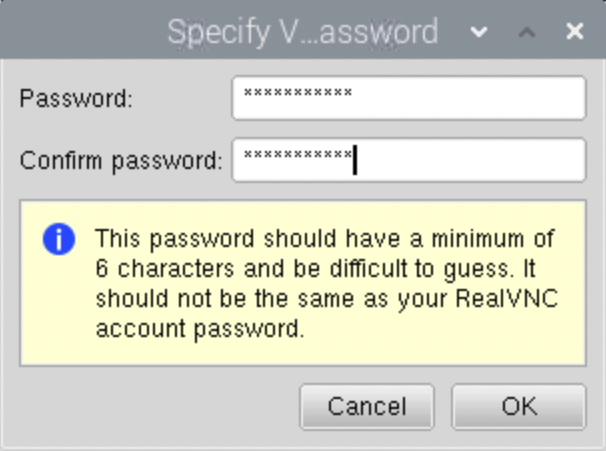
▲ラズパイに接続するためのパスワードになります。
VNCのパスワードとは同じものが入れられないので異なるパスワードを入力しましょう。
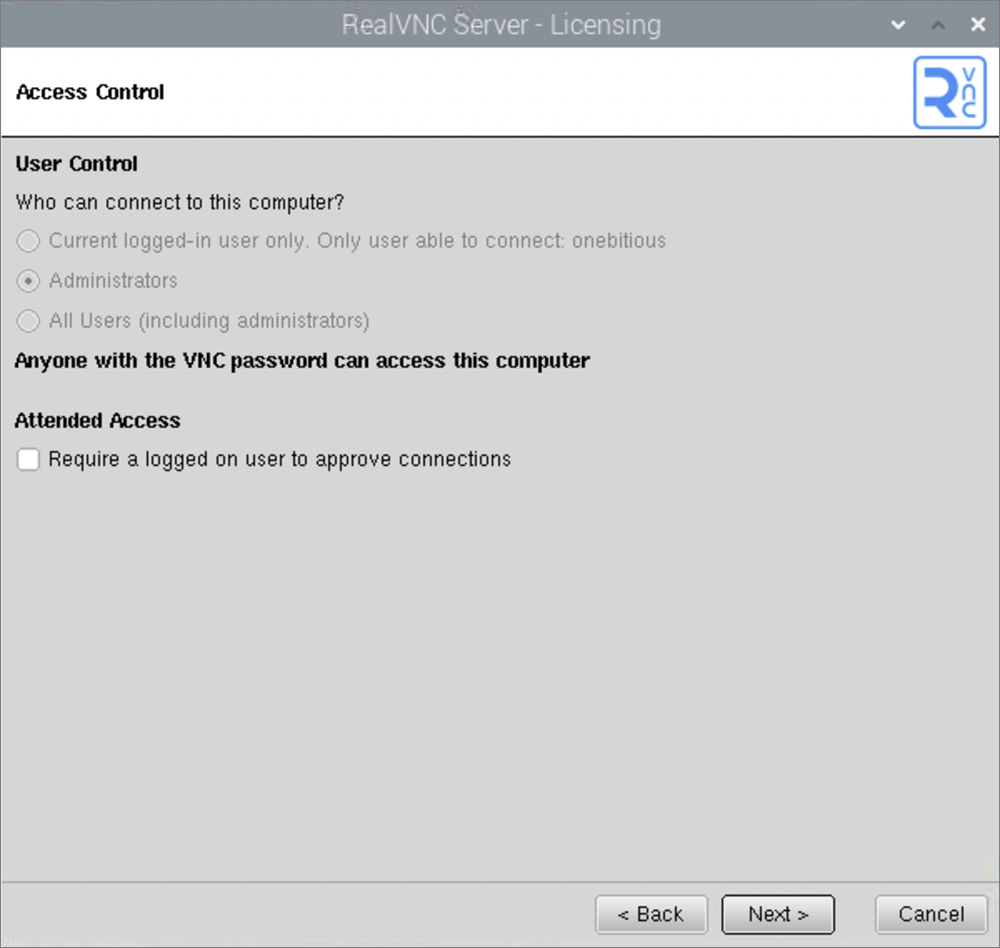
▲Require a logged on user to approve connections(ログオンしているユーザーに接続の承認を求める)はチェックしないでNextをクリックします。
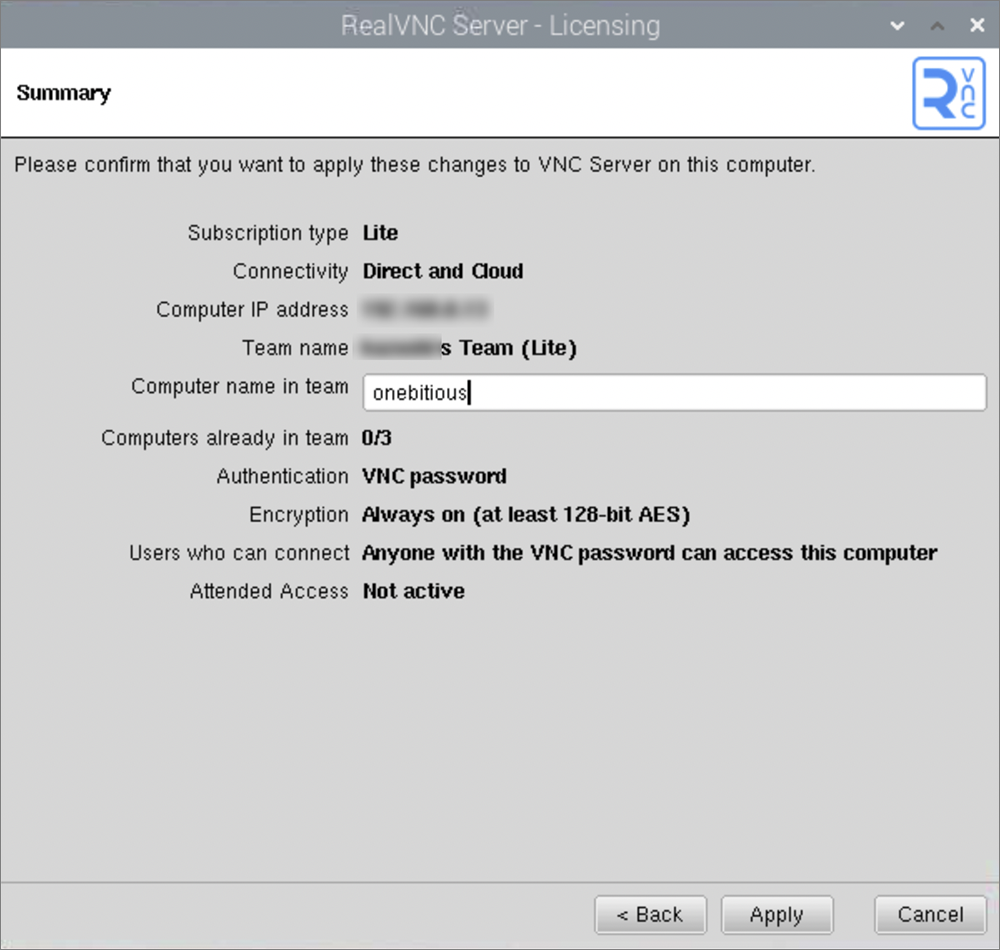
▲コンピュター名を確認し大丈夫だったらApplyをクリックします。
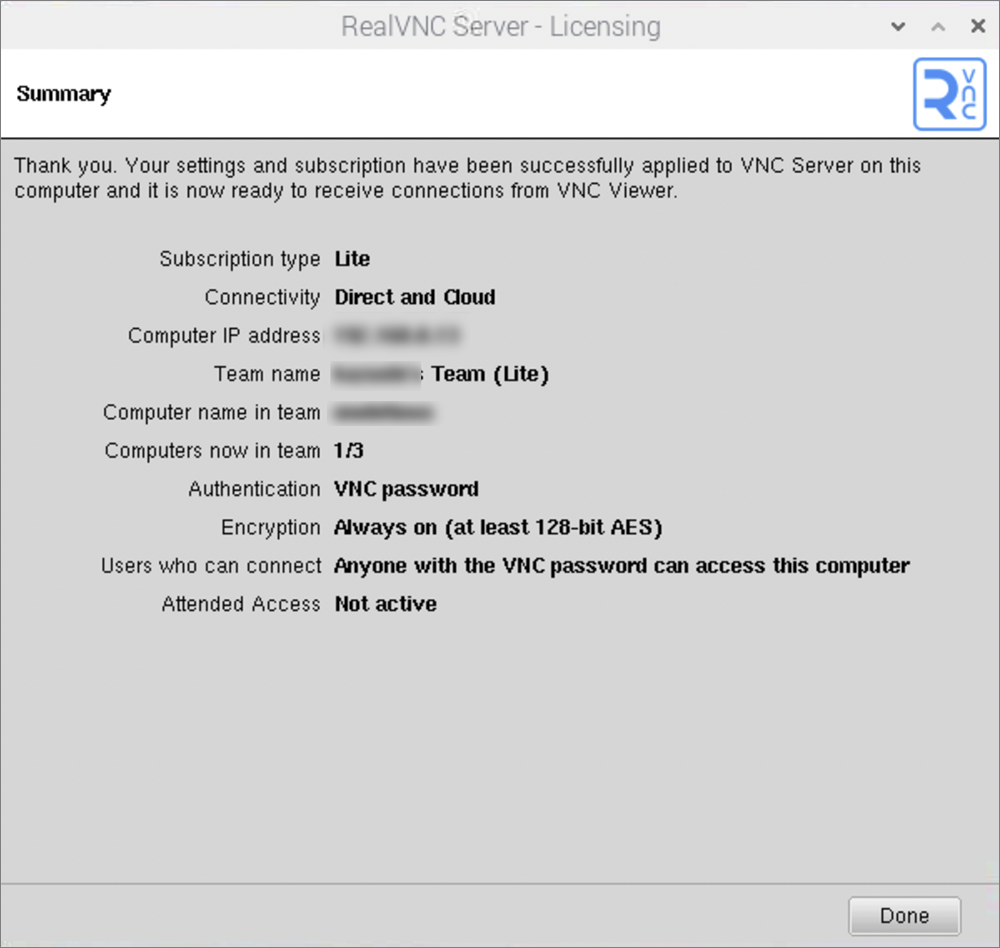
▲設定完了です。
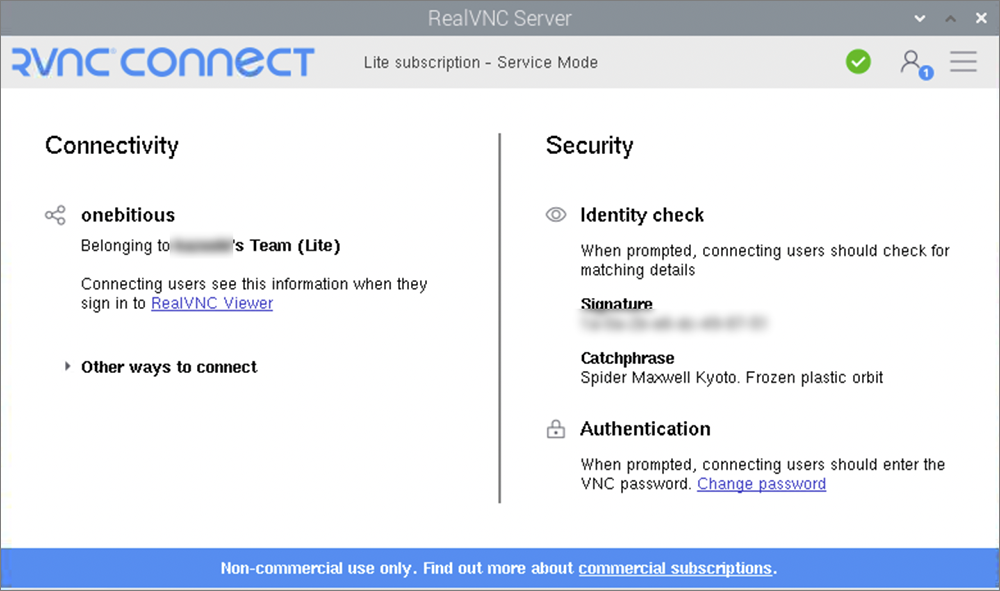
▲サーバーの画面も紐付けが完了してます。
ここまでがラズパイの設定になります。
❹ RealVNCを使ったクライアントマシーンの構築
次にラズパイへ接続するクライアント側の設定です。
Viewer版ダウンロードページからVNC Viewerをダウンロードしインストールします。
インストール方法は今回は省略します。
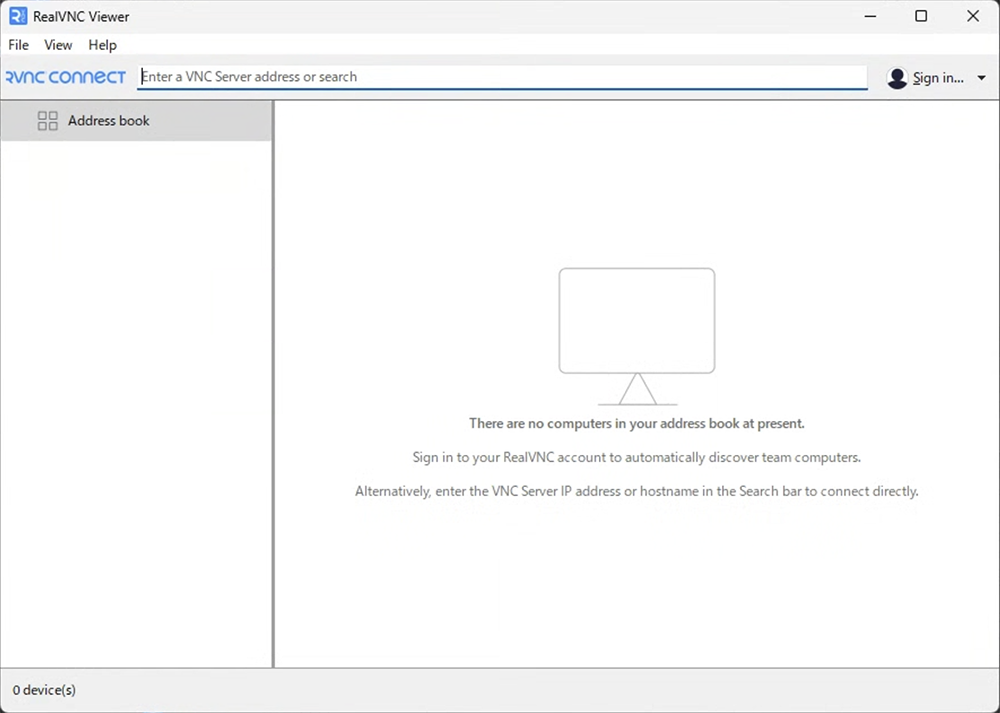
▲インストール後VNC Viewerを起動します。
右上のSign inをクリックします。
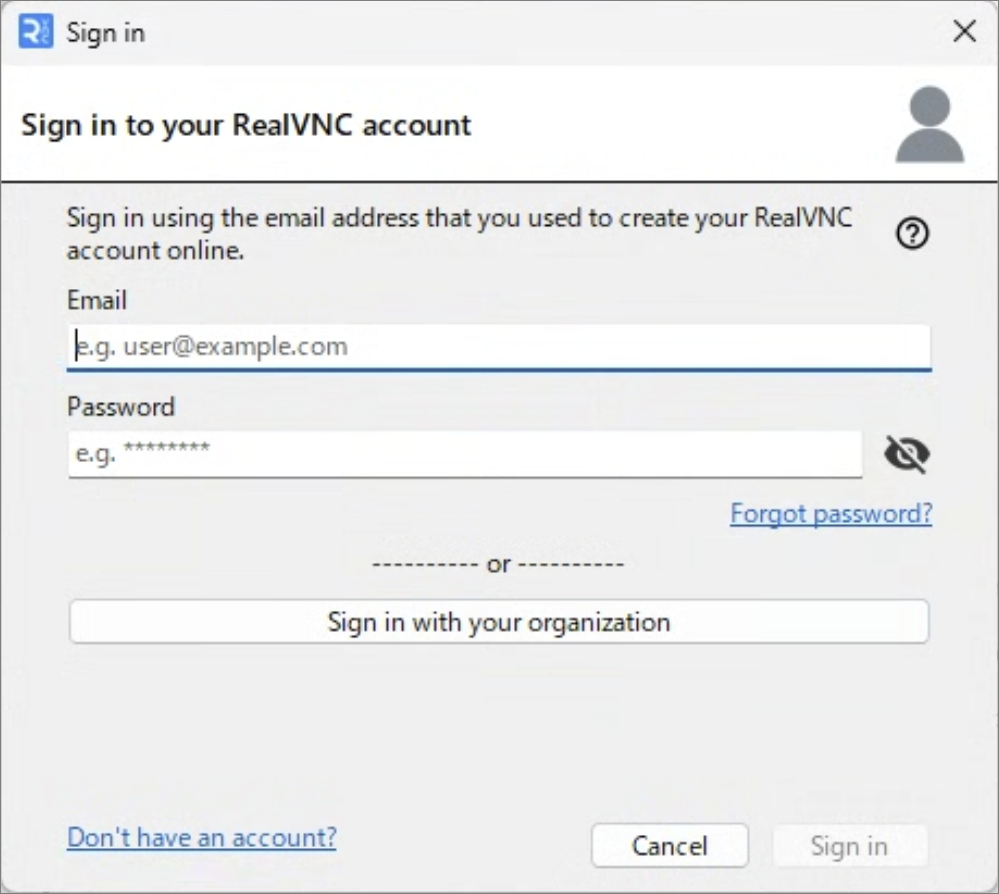
▲アカウント登録したメールアドレスとパスワードを入力します。
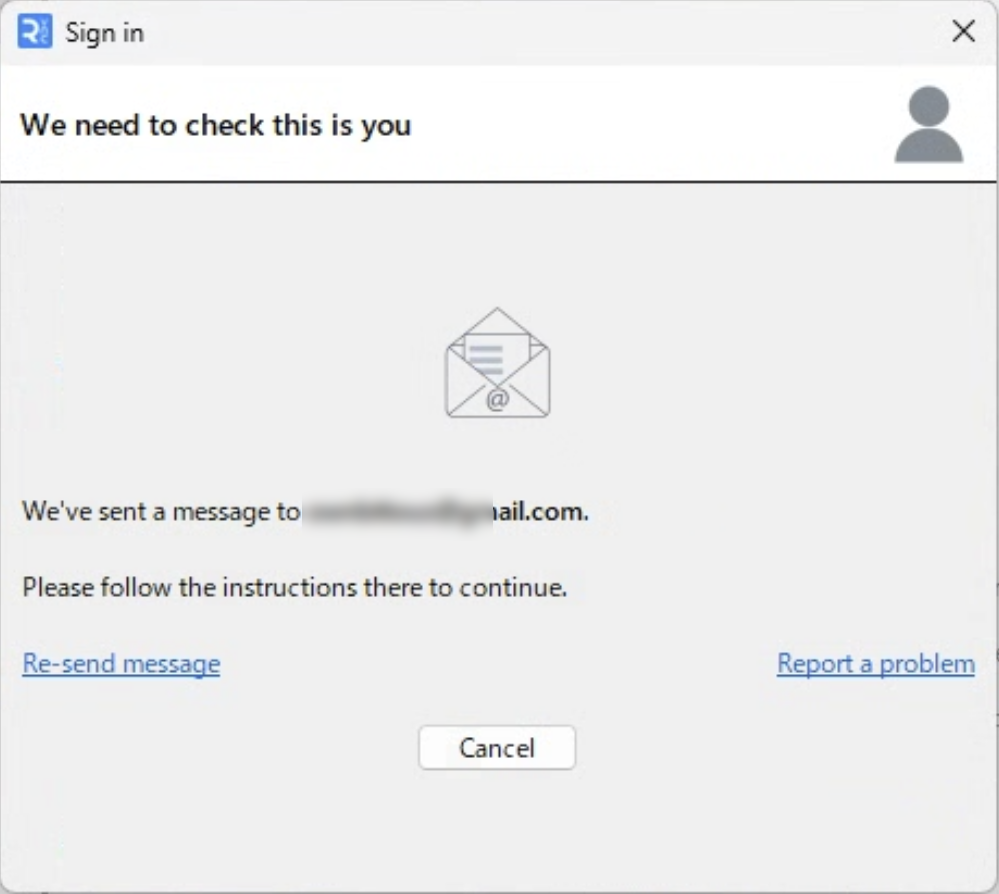
▲サインインすると確認メールが送信されます。
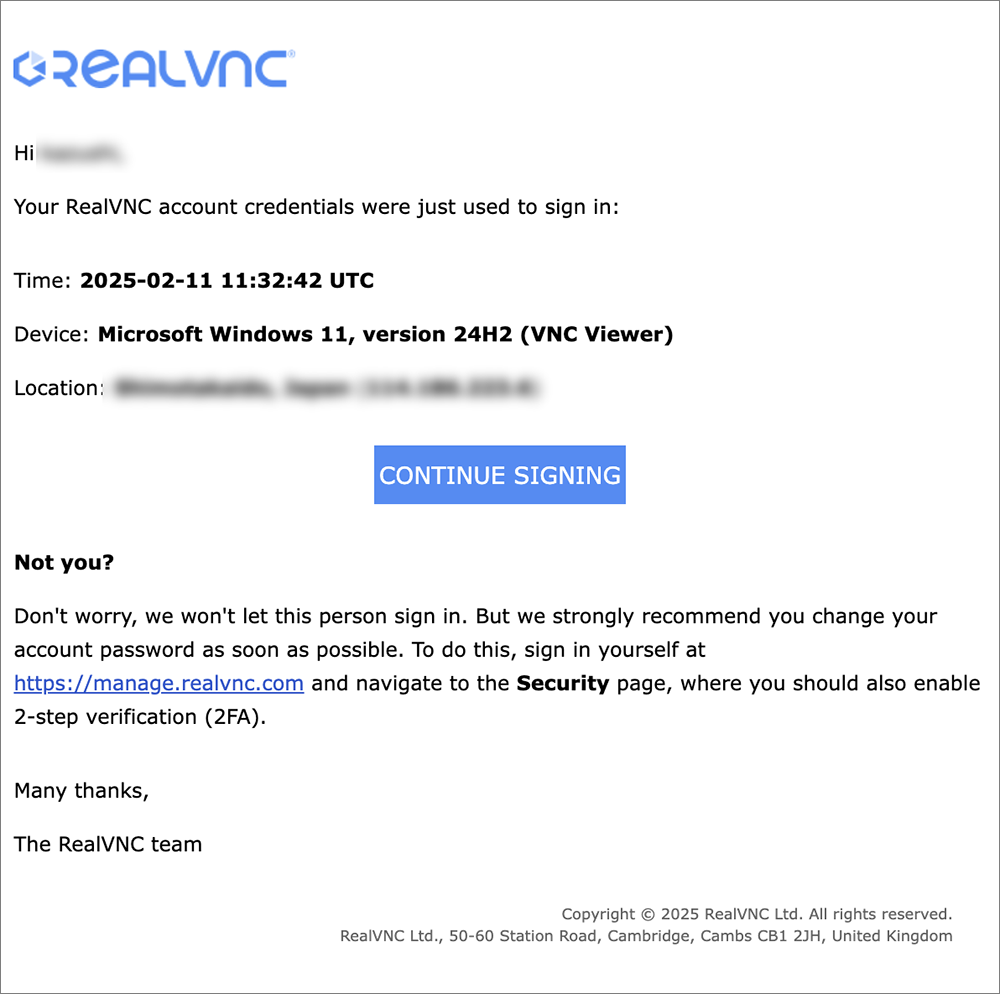
▲メールが届くので確認しCONTINUE SIGNINGをクリックします。
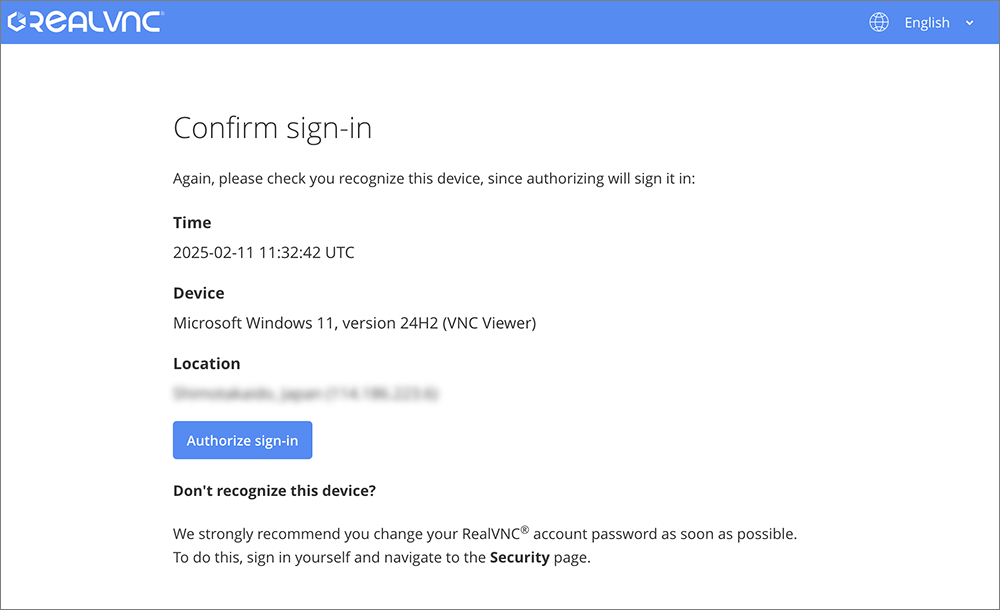
▲サイトに遷移するので、再度確認し、Authorize sign-inをクリックします。
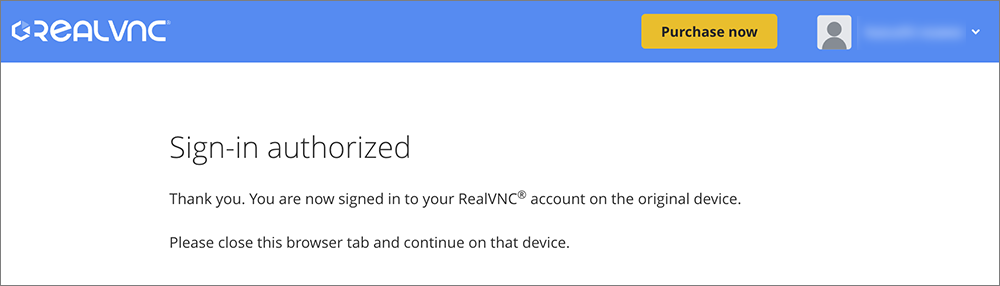
▲確認が完了しログインしました。
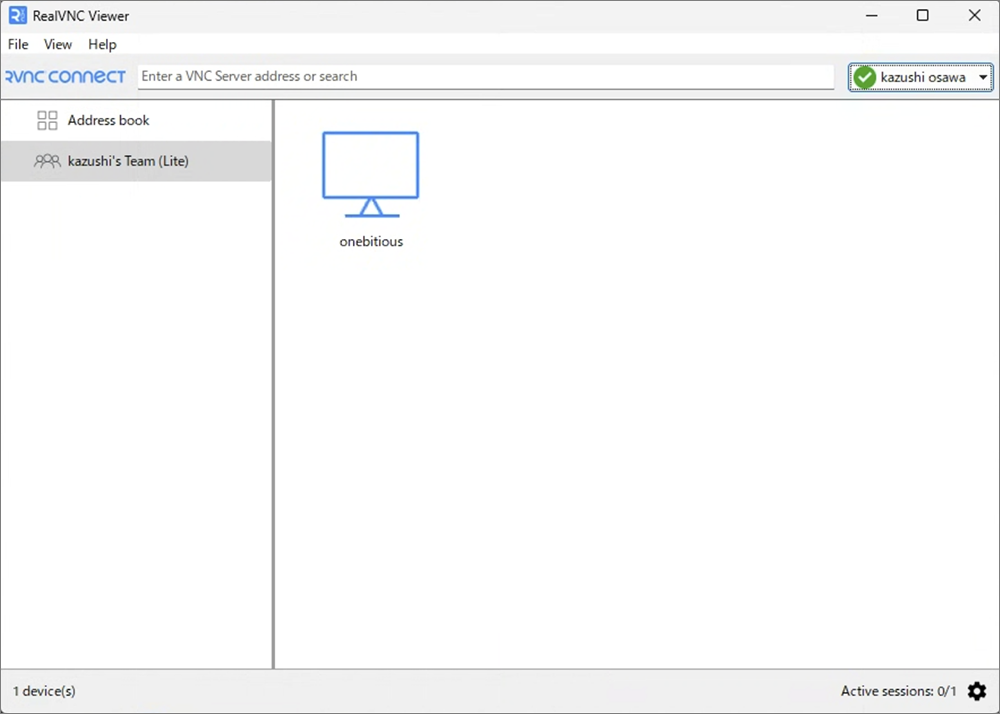
▲クライアントにラズパイが表示されるようになります。
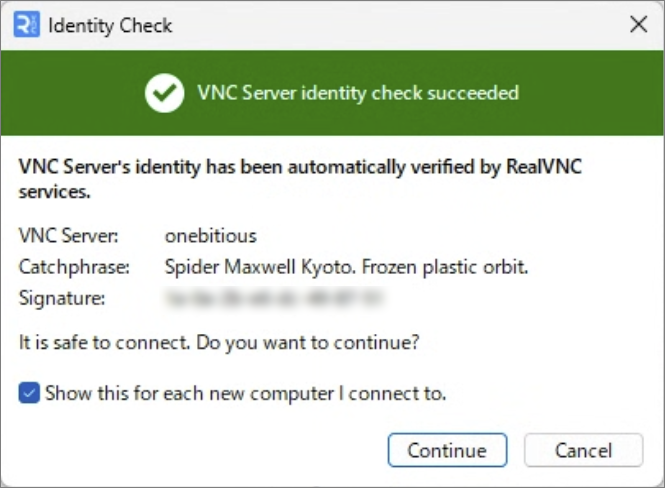
▲接続の確認画面が表示されるのでContinueをクリックします。
▲外出先から接続できました。
冒頭で紹介したカメラを起動し、防犯カメラとして様子を見てみましょう。
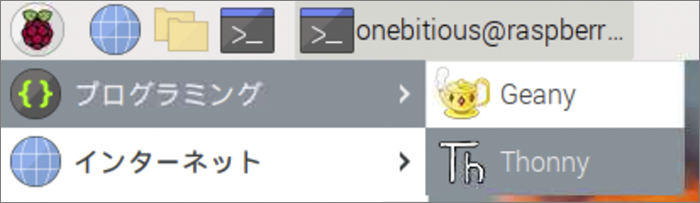
▲ラズパイメニューから プログラミング > Thonny を開きます。
ThonnyがPythonのアプリになります。
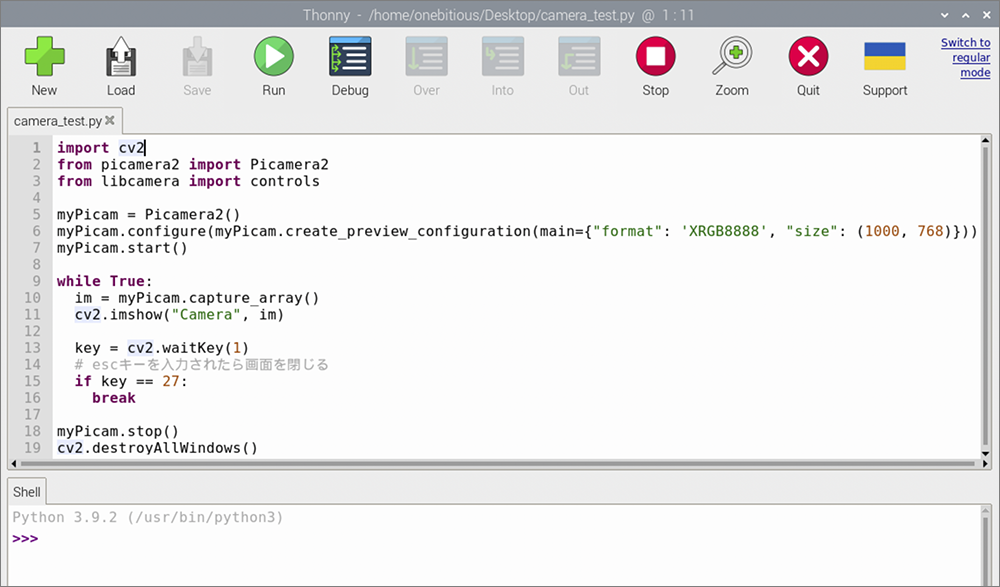
▲Thonnyの画面。
冒頭の動画を映すプログラムを開きRunをクリックします。
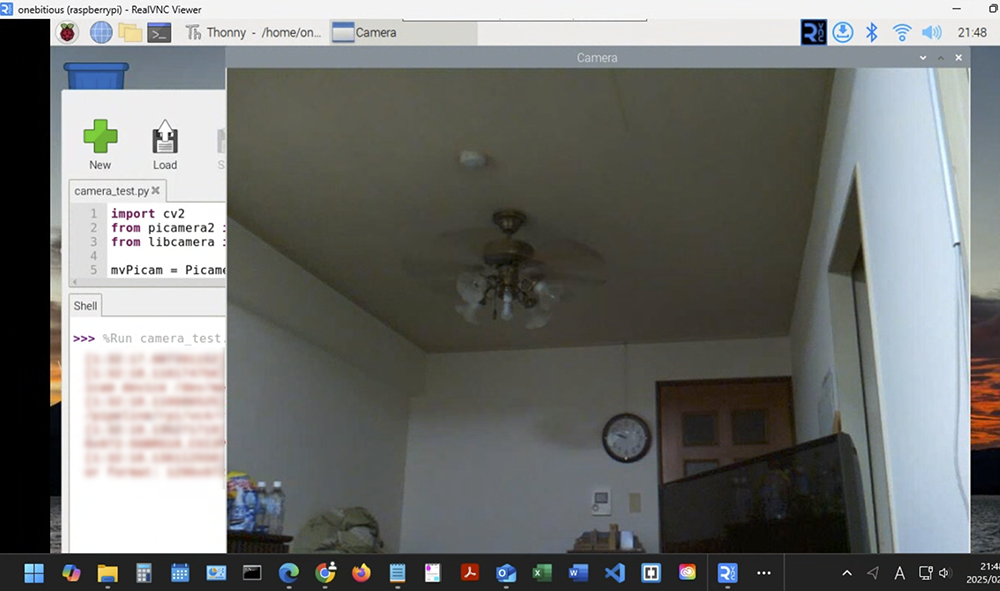
▲カメラが起動し動画が映し出されました。
感動的です!
映像の表示のみでデータを残す録画はされません。
録画するには別のプログラムや大容量のSSDを用意する必要があります。
初めは、1つ上のOS BookwormとRaspberry Pi Connect を使って試していました。
しかし、BookwormではカメラOV5647で使うOpen CVがなかなか入れられず古いOS BullseyeとReal VNCで行う方法を選んだ次第です。
スマホ版VNC Viewerを使って外出先から見られていたのですが、セッションが上限に達しましたと警告が表示され、その後見れなくなってしまいました。
無料版では色々と制限があります。
以降も色々と試してみたいと思います。
最後まで読んでくださりありがとうございました。
sozorablog さま
そう備忘録 さま