投稿日:2023年8月3日
先日、下記のような相談がありました。
サイトにPDFを掲載したい。
そのPDFは細かい情報が掲載してあるので虫メガネみたいなもので拡大して見えるようにしたい。
検証してみました。
「jQuery 拡大鏡」で検索したところ、数種類のものが見つかりました。
その中で、今回はZoomple というjQueryライブラリを紹介したいと思います。
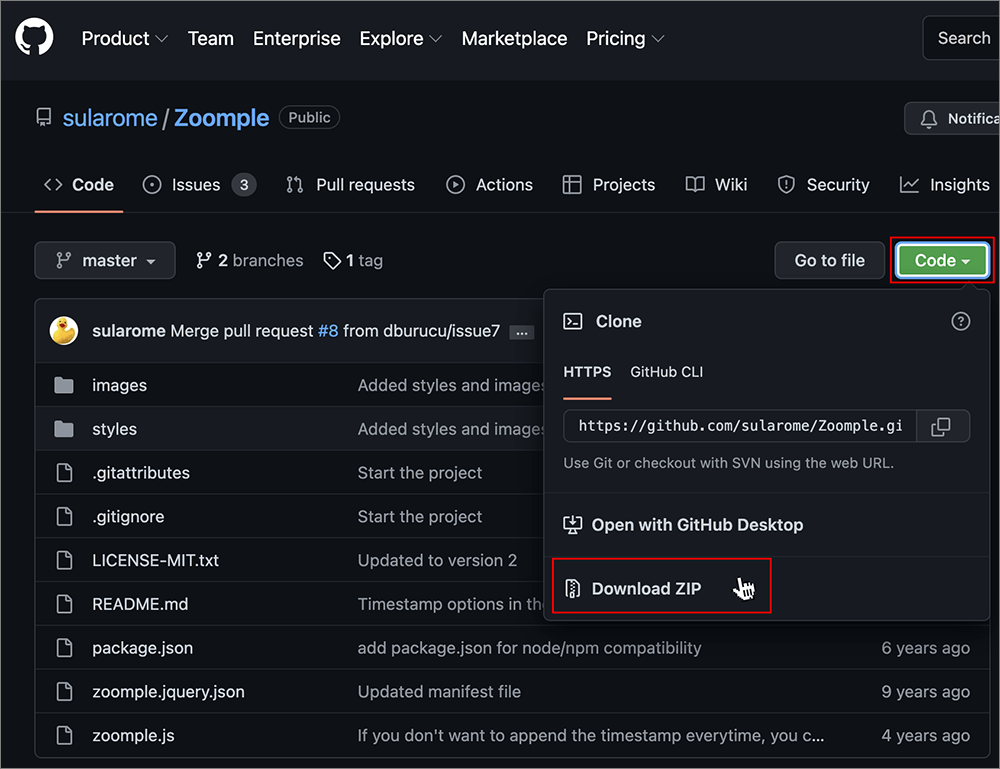
▲GitHubにアクセスしCodeからDownload ZIPをクリックします。
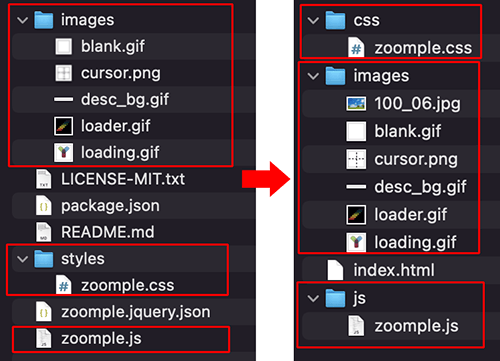
▲ダウンロードしたZIPを解凍します。(左)
赤囲みのものが必要なファイルになります。
右図のように配置しました。
以下、htmlのソースです。
 <link rel="stylesheet" href="css/zoomple.css">
  <title>zoomple_test</title>
  <style>
    * {
      margin: 0;
      padding: 0;
    }

    .zoomple img {
      width: 100%;
    }
  </style>
</head>

<body>
  <a href="images/100_06.jpg" class="zoomple">
    <img src="images/100_06.jpg" alt="">
  </a>

  <script src="js/zoomple.js"></script>
  <script>
    $('.zoomple').zoomple({
      offset: {
        x: -150,
        y: -150
      },
      zoomWidth: 300,
      zoomHeight: 300,
      roundedCorners: true,
    });
  </script>
順を追って説明します。
<a href="images/100_06.jpg" class="zoomple">
  <img src="images/100_06.jpg" alt="">
</a>▲aタグで囲ったimagesは拡大した際に表示される画像を記述します。ここにJavaScriptで操作するためのクラスを記述します。今回はzoompleとしました。
高解像度の画像を配置しても良いし、imgタグを同じ画像を指定しても構いません。
<script src="js/zoomple.js"></script>
<script>
  $('.zoomple').zoomple({
    offset: {
      x: -150,
      y: -150
    },
    zoomWidth: 300,
    zoomHeight: 300,
    roundedCorners: true,
  });
</script>
▲JSです。
zoomple.jsを読み込み、対象のクラスにzoomple関数を指定します。
任意でオプションを指定します。
上記はズームの大きさを300px、中心点を中心に、円形ズームを指定しました。
結果、以下のように画像にカーソルを当てがうと拡大されます。
その他のオプションです。
delay – Delays the zoom start. Default value: 0
zoomWidth – sets the width of the preview. Default value: 300
zoomHeight – sets the height of the preview. Default value: 300
offset – sets the offset of the thumbnail from the mouse cursor.Default value: {x : 5,y : 5}
loaderURL – specifies the source for the “loading” image. Default value(images/loader.gif)
blankUrl – specifies the source for the blank image. Default value(images/blank.gif)
source – specifies the source attribute that holds the path to the magnified image. The two possible options are ‘href’ and ‘rel’. Default value is ‘href’
attachWindowToMouse – if set to true, the magnifier will follow the mouse, if set to false, the magnifier will sit attached on the side of the image.
windowPosition – when attachWindowToMouse is set to false, the window will sit on the side of the image. This property defines on which corner of the image, the magnifier will sit (e.g. windowPosition : {x:’right’,y:’bottom’}). Possible values for x: ‘right’, ‘left’. Possible values for y: ‘top’, ‘bottom’.
bgColor – the fill color that should be displayed after the image border
roundedCorners – displays the magnifying glass in circle (so it looks like actual magnifying glass)
showCursor – displays cursor of the middle of the window so you can see where your cursor points on the image
appendTimestamp – appends timestamp to the url. Default value: true
timestamp – timestamp on init. Default value: (new Date().getTime())
▲https://github.com/sularome/Zoomple より引用したもの
▼和訳したものです。
delay –ズームの開始を遅らせます。デフォルト値:0
ZoomWidth –プレビューの幅を設定します。デフォルト値:300
ZoomHeight –プレビューの高さを設定します。デフォルト値:300
offset –マウスカーソルからのサムネイルのオフセットを設定します。デフォルト値:{x:5、y:5}
loaderURL-「読み込み中」の画像のソースを指定します。デフォルト値(images / loader.gif)
blankUrl-空白の画像のソースを指定します。デフォルト値(images / blank.gif)
source-拡大された画像へのパスを保持するsource属性を指定します。可能な2つのオプションは、「href」と「rel」です。デフォルト値は「href」です
attachWindowToMouse – trueに設定されている場合、拡大鏡はマウスに追従します。falseに設定されている場合、拡大鏡は画像の側面に取り付けられたままになります。
windowPosition – attachWindowToMouseがfalseに設定されている場合、ウィンドウは画像の横に配置されます。このプロパティは、画像のどのコーナーに拡大鏡を配置するかを定義します(例:windowPosition:{x:’right’、y:’bottom’})。xの可能な値:’右’、’左’。yの可能な値:’top’、’bottom’。
bgColor-画像の境界線の後に表示される塗りつぶしの色
roundedCorners-拡大鏡を円で表示します(実際の拡大鏡のように見えます)
showCursor –ウィンドウの中央にカーソルを表示して、カーソルが画像のどこを指しているかを確認できるようにします
appendTimestamp –タイムスタンプをURLに追加します。デフォルト値:true
タイムスタンプ–初期化時のタイムスタンプ。デフォルト値:(new Date()。getTime())
WordPressの場合WP Image Zoom というプラグインで同様な効果が得られます。
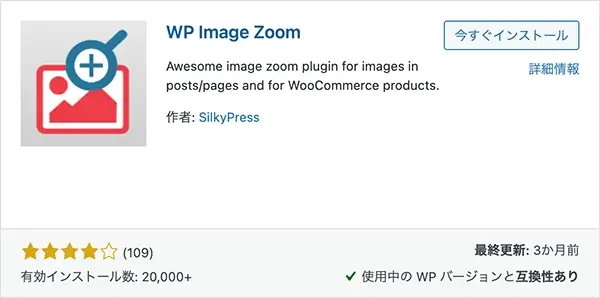
▲インストールし有効化します。
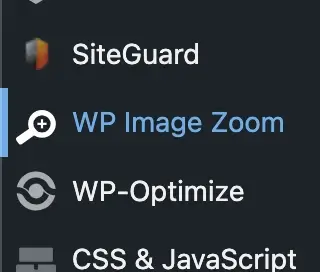
▲有効化するとメニューに表示されます。
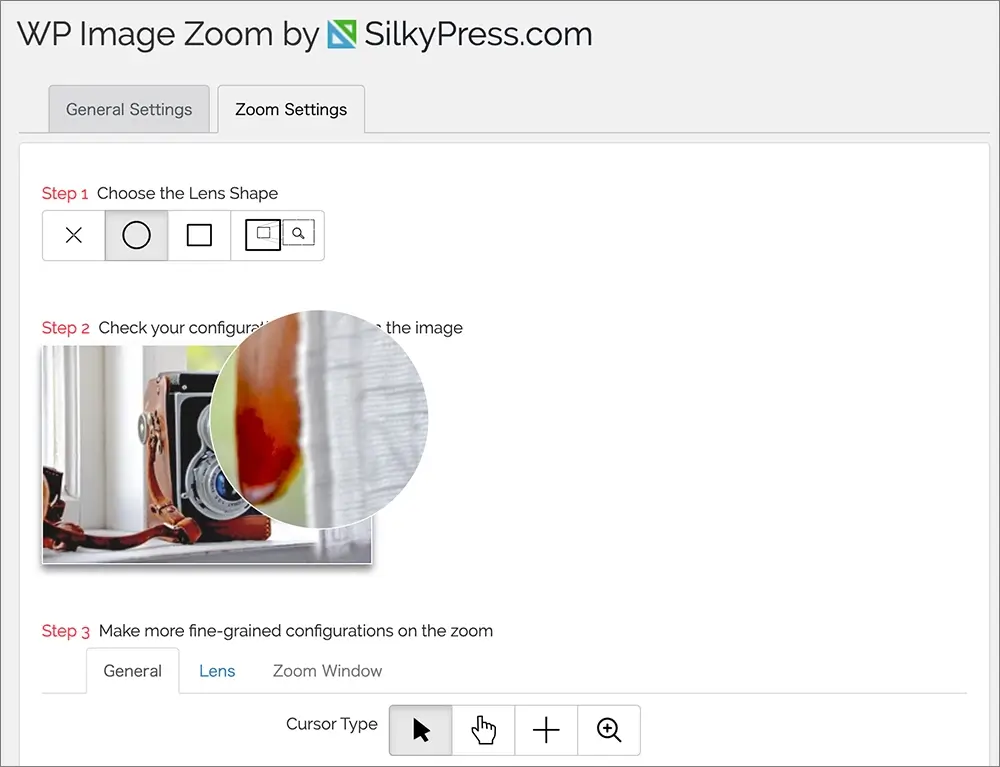
▲Step1をCircle Lensに設定すれば同様の拡大鏡が表示されます。
なのですが、このプラグイン、有料版でないとできない縛りが多すぎてカスタマイズしづらいと思います。
WooCommerceなど、掲載商品画像の拡大など、ネットショッピングを扱っている方なら重宝すると思うので有料版も考慮してみましょう。
▼ひとまずはこのくらいならできます。

高画素のデジカメで撮影した画質の確認など、用途によっては重宝しそうですね。
他にも何か使えなさそうか色々と検証したいと思います。
最後まで読んでいただき、ありがとうございました。