投稿日:2022年6月14日
今回作成したのはこちらです。
前回 紹介したFeiyuTech のジンバルSCORP-Cでタイムラプス撮影してみました。
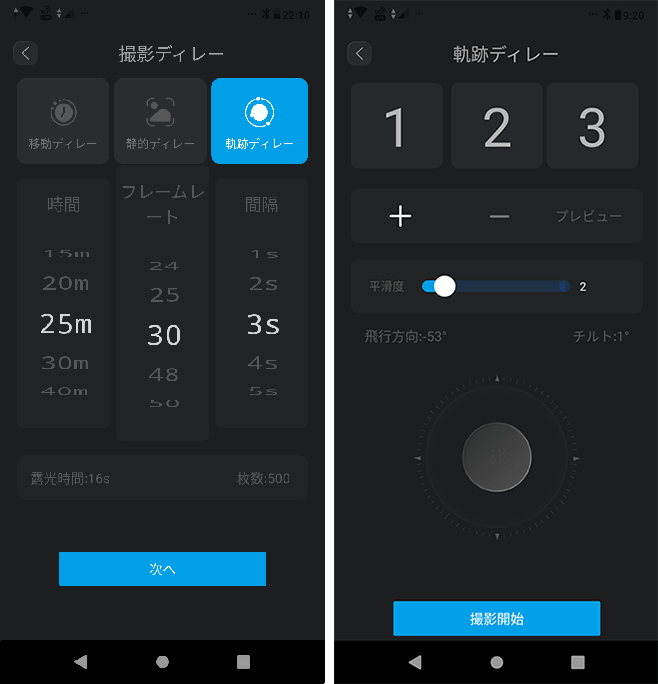
▲25分で3秒おきに、合計500枚になるように設定しました。
撮影しながらジンバルをゆっくり動かします。
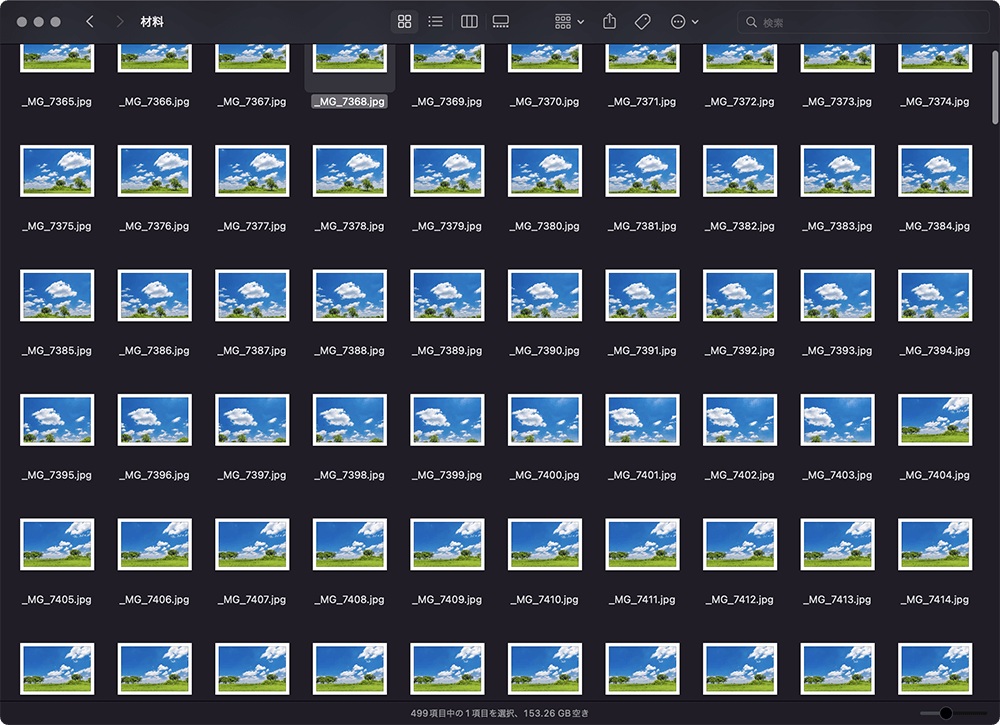
▲ラグがあるのか合計499枚になりました。
これらを下記の手順でPhotoshopで編集しタイムラプス動画にします。
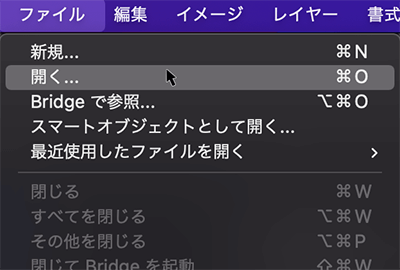
▲まずは普通に「開く…」からファイルを開きます。

▲画像シーケンスにチェックを入れます。
動画シーケンスを指定する場合には、対象の画像名が連番になっていることが必須です。
連番の最初の画像を選択し、開くをクリックします。
開くのは、あくまでも最初の1枚だけです。
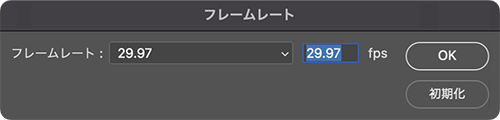
▲フレームレートを指定します。
撮影時は30fpsを選択しましたが、29.97fpsを選択します。

▲画像が開くので ファイル > 書き出し > ビデオをレンダリング を選択します。
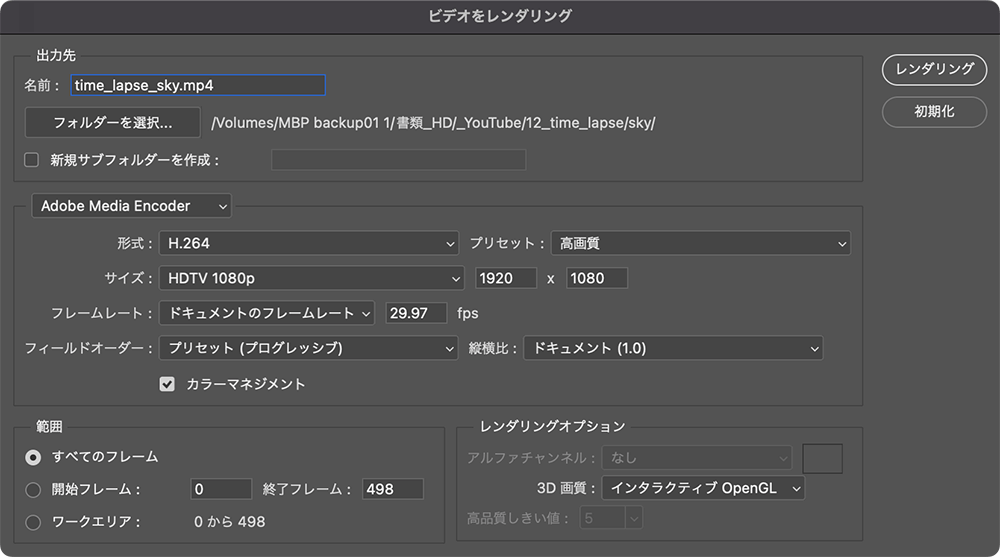
▲任意設定しレンダリングします。
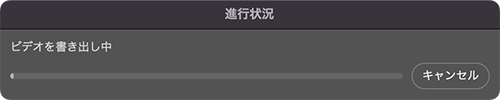
▲レンダリングが始まります。
枚数によって容量が増えるのでけっこう時間がかかります。
▼書き出ししたタイムラプス動画です。
25分もかけて撮影したものが15秒の動画になります。
もう少し時間を拡大し、動画の前後にフェードイン、フェードアウトを設定してみましょう。
Premiere Proを起動します。
▲新規プロジェクトを作成します。
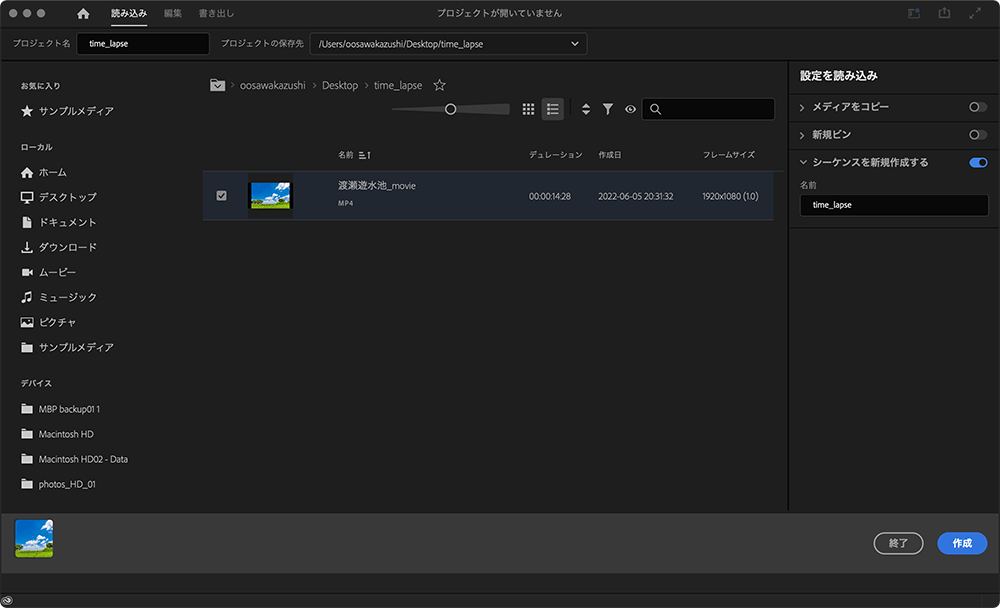
先ほどPhotoshopで書き出ししたタイムラプス動画を読み込み、シーケンスを新規作成するにチェックを入れ、任意名前と保存場所を指定し作成します。
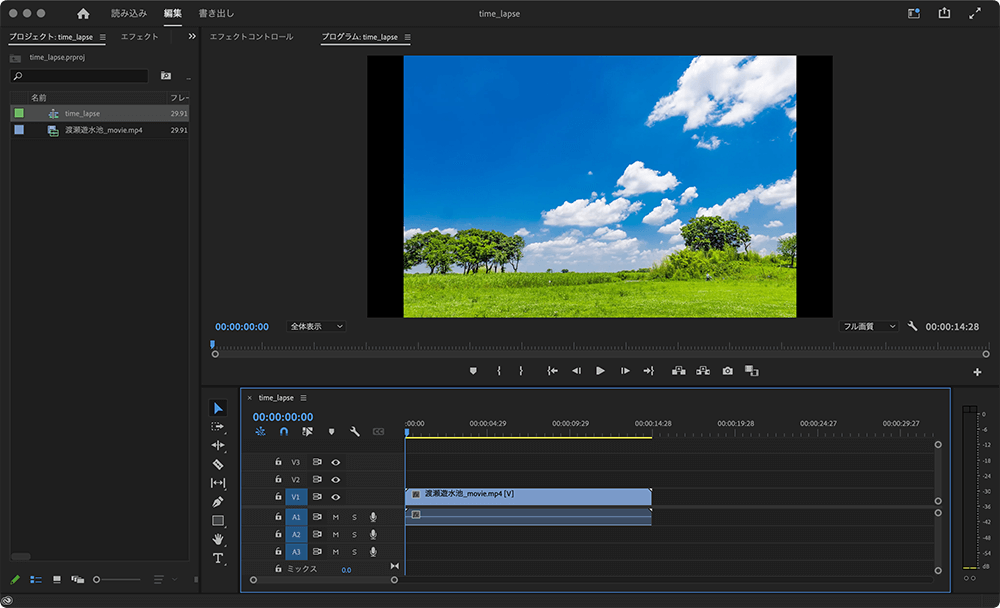
▲新規プロジェクトが作成されます。
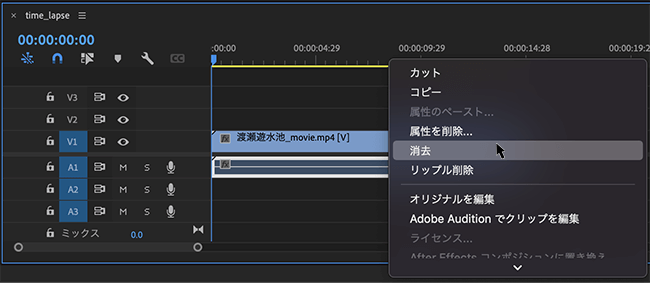
▲今回、オーディオは不要なので削除します。
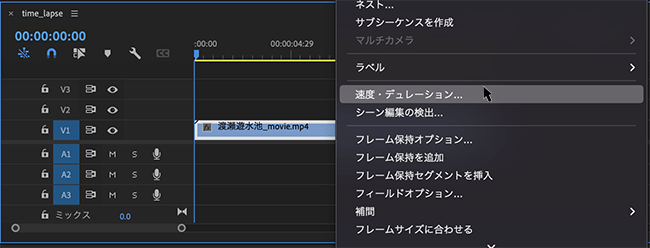
▲速度を調整します。
右クリックし、速度・デュレーションを選択します。
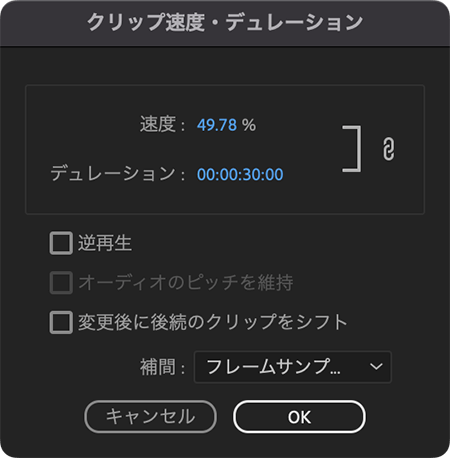
▲デュレーションを30秒に設定します。速度は自動で計算されます。
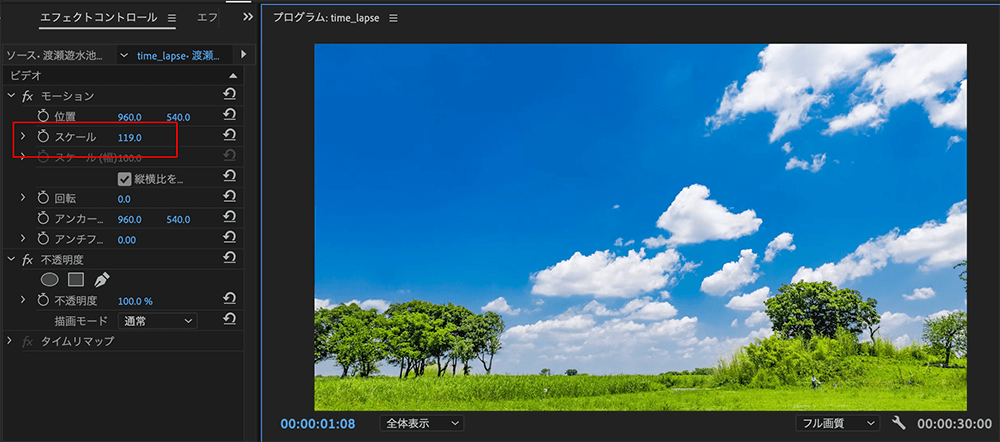
▲元の画像と比率が合わないので、スケールを119%にし拡大します。
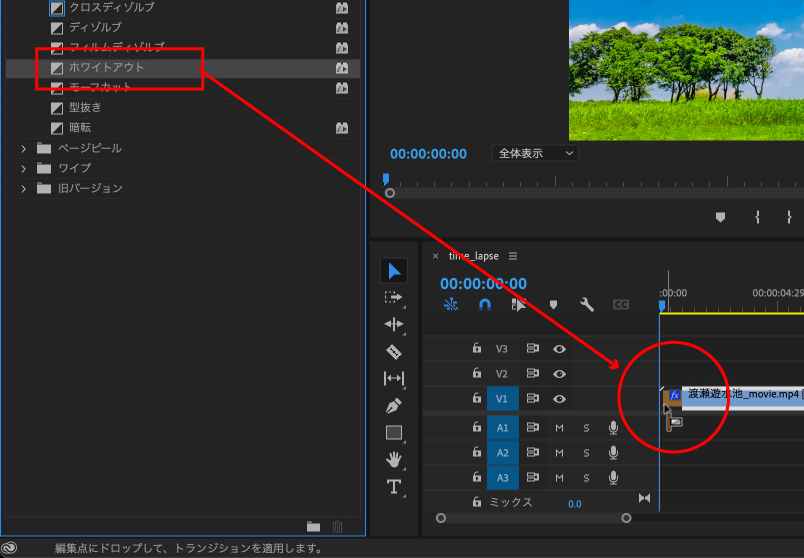
▲エフェクトを追加します。
エフェクト > ディゾルブ > ホワイトアウト を動画の開始点と終了点に配置します。
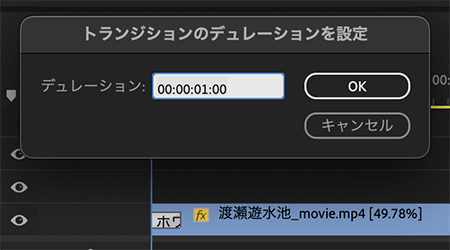
▲配置したエフェクトをダブルクリックすると時間を調整できます。
今回はデフォルトの1秒にしておきます。
▼このまま再生すると、開始点と終了点にそれぞれ黒い背景が残ったままになり不自然な感じがします。
白い背景を別途作る必要があります。
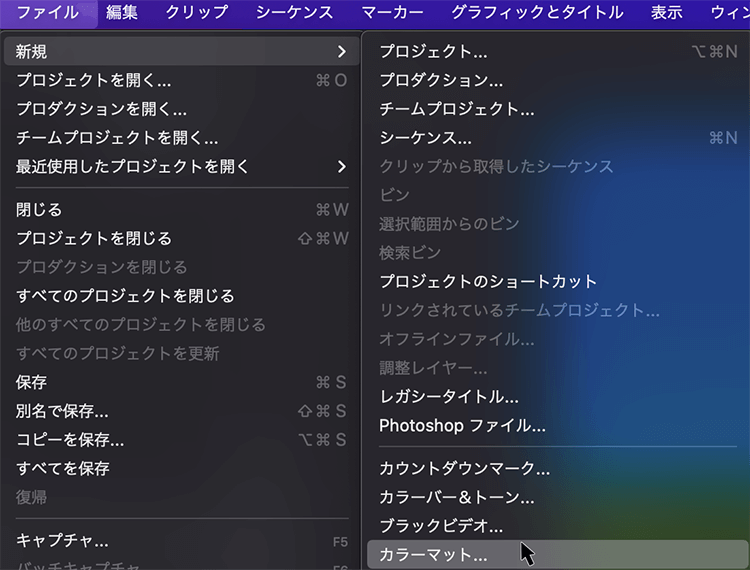
▲ファイル > 新規 > カラーマットを選択します。
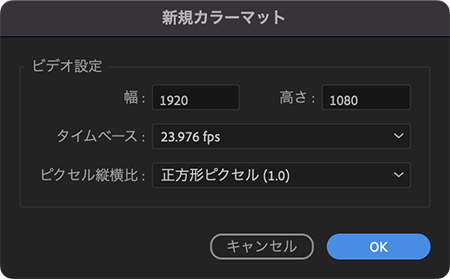
▲新規カラーマットを作成します。デフォルトの設定でかまいません。
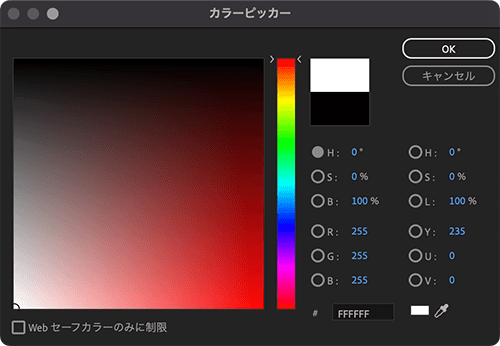
▲白に設定します。
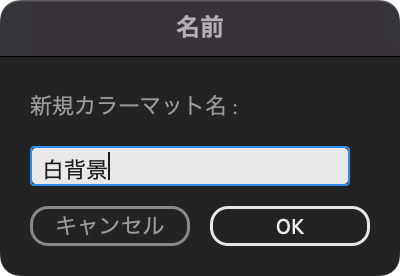
▲任意名前を入力します。

▲プロジェクトに追加されるので、シーケンスに追加します。
先に配置されているタイムラプスのシーケンスをV2に移動し、作成したカラーマットをV1に配置します。
長さを元の動画に合わせます。
これで完成です。
再度お見せします。
タイムラプス撮影というと、定点で撮影するものが主だと思います。
撮影しつつアングルを変えられるのがジンバルの強みでもありますね。
実際に撮影、加工してみるとイメージしていた仕上がりと異なることが多々あります。
机上でのマニュアル熟読や操作練習をしていると、覚えた感じになります。
しかし、現場でスマホアプリ、機材操作してみると、思ったように動かせません。
失敗も踏まえ、繰り返し試してみるのが習得につながると思います。
以降も積極的に撮影に赴きたいと思います。
最後まで読んでくださりありがとうございました。